


The Nestlé Toll House Chocolate Cake is a rich, decadent dessert inspired by the iconic Nestlé Toll House brand, famous for its classic chocolate chips.
This cake brings together the beloved flavor of semi-sweet chocolate with a moist, tender crumb, making it a perfect treat for any occasion. Whether layered or served simply with frosting, it’s a crowd-pleaser that combines nostalgia with indulgence.
Ideal for birthdays, holidays, or just because, this chocolate cake offers the timeless taste of Nestlé Toll House in every bite. Easy to prepare and irresistibly delicious, it’s a must-bake for chocolate lovers of all ages.
If you’re a fan of the iconic Nestlé Toll House chocolate chip cookies, you’re going to love this rich, moist chocolate cake inspired by the same sweet, comforting flavors.
Combining classic ingredients like Nestlé Toll House semi-sweet chocolate chips with a soft, fluffy cake batter, this recipe creates a delicious dessert that’s perfect for birthdays, holidays, or any day that calls for a little chocolate indulgence.
Nestlé Toll House Chocolate Cake
Description
Nestlé Toll House Chocolate Cake is a rich, moist dessert inspired by the iconic Nestlé Toll House chocolate chip cookie legacy.
This indulgent cake features layers of soft chocolate sponge infused with semi-sweet chocolate chips and sometimes a gooey chocolate ganache or buttercream frosting.
It’s perfect for celebrations, potlucks, or as a comforting treat. With its deep cocoa flavor and melty chocolate bites, it delivers the familiar, nostalgic taste of Toll House cookies in cake form.
Whether served warm or chilled, it’s a crowd-pleaser that blends homemade charm with classic chocolate decadence.
Ingredients
For Optional Frosting
Instructions
-
Start by preheating your oven to 350°F (175°C). Grease and flour a 9x13-inch cake pan or two 9-inch round pans if you want to make a layered cake. You can also line the bottom with parchment paper for easier removal.
-
In a large bowl, sift together the flour, cocoa powder, baking powder, baking soda, and salt. Set aside. Sifting ensures that there are no clumps in the cocoa and helps the cake texture stay light.
-
In another large mixing bowl, use an electric mixer to cream the butter and sugar together until light and fluffy—about 2–3 minutes. This step is essential for incorporating air into the batter and creating a soft crumb.
-
Add the eggs one at a time, beating well after each addition. Then mix in the vanilla extract. The batter should be smooth and slightly thick.
-
With the mixer on low, alternate adding the dry ingredients and the buttermilk in three batches, beginning and ending with the dry ingredients. Mix until just combined; do not overmix, as it can lead to a tough cake.
-
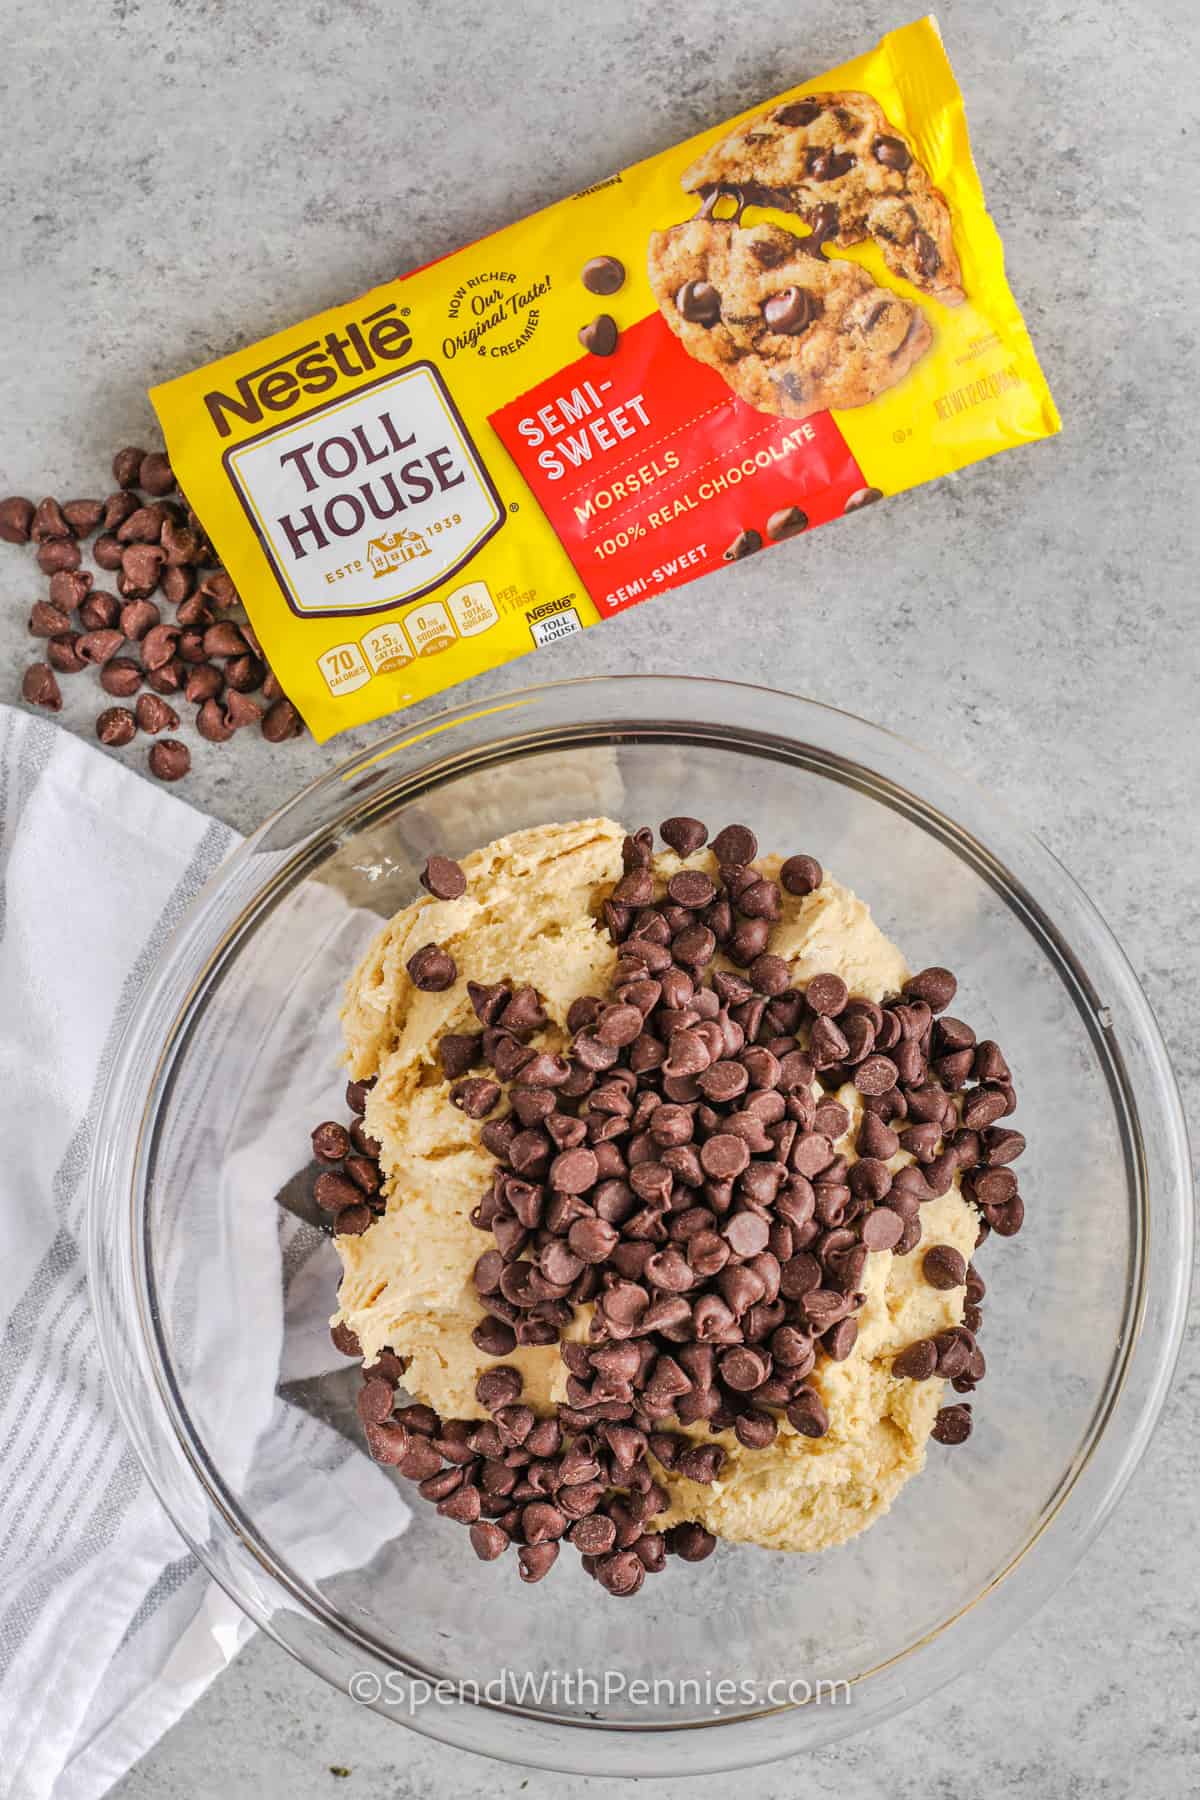
Slowly pour in the hot water or coffee, stirring until the batter is smooth and slightly loose. Fold in 1 cup of Nestlé Toll House Semi-Sweet Chocolate Morsels. These chips will melt slightly into the batter as it bakes, creating pockets of gooey chocolate throughout the cake.
-
Pour the batter evenly into your prepared pan(s). If using two round pans, divide the batter equally. Tap the pans gently on the counter to release any air bubbles.
-
Bake for 30–35 minutes, or until a toothpick inserted in the center comes out clean or with a few moist crumbs. Let the cake cool in the pan for 10 minutes, then transfer to a wire rack to cool completely.
Note
Nestlé Toll House Chocolate Cake: Tips, Tricks & Serving Suggestions
Nestlé Toll House is famously associated with the invention of the chocolate chip cookie, but their chocolate cake recipes are just as comforting and indulgent.
Whether you're using their official mix or making a homemade version inspired by their chocolate morsels, these expert tips and serving ideas will help elevate your cake from good to unforgettable.
1. Use Quality Chocolate Chips
Start with the star ingredient: Nestlé Toll House Semi-Sweet Chocolate Morsels. You can also combine semi-sweet with milk chocolate or dark chocolate morsels for a more complex flavor profile. Melting a portion of the chips into the batter and reserving some to fold in adds both richness and texture.
2. Don’t Overmix the Batter
When incorporating the dry ingredients into the wet, mix until just combined. Overmixing develops too much gluten, which can make the cake dense or chewy. A light hand keeps your crumb tender and moist.
3. Enhance with Add-Ins
Consider mixing in ingredients that complement chocolate:
- Espresso powder (½ to 1 tsp) enhances the chocolate flavor without tasting like coffee.
- Sour cream or Greek yogurt (¼ to ½ cup) adds moisture and tang.
- Mini chocolate chips or chopped nuts (walnuts, pecans) offer texture.
- A swirl of peanut butter or caramel can turn your cake into a showstopper.
4. Avoid Dry Cake
Dry cake is usually the result of overbaking. Start checking for doneness 5 minutes before the lowest suggested time. Insert a toothpick in the center—it should come out with a few moist crumbs, not totally clean. Also, ensure your oven isn’t running hot by using an oven thermometer.
5. Grease & Line the Pan Properly
Prevent sticking by generously greasing the pan and lining the bottom with parchment paper. This is especially helpful if you’re making a layered cake or using a bundt pan where details can be lost to sticking.
6. Let It Rest Before Frosting
A common mistake is frosting a warm cake, which causes the icing to melt and slide. Always let the cake cool completely on a wire rack before frosting or glazing. For layer cakes, consider chilling the layers for 20–30 minutes before assembly for cleaner edges.
Serving Tricks
1. Dress It Up with Simplicity
- A drizzle of melted chocolate or ganache adds a glossy, professional finish.
- Top with a sprinkle of powdered sugar, cocoa powder, or shaved chocolate for a rustic but beautiful look.
2. Flavor Pairings
Chocolate cake pairs wonderfully with:
- Vanilla or caramel ice cream
- Fresh berries (especially raspberries or strawberries)
- Whipped cream flavored with a splash of vanilla or liqueur
- Salted caramel drizzle for sweet-salty contrast
3. Create Mini Versions
Bake the batter in a muffin tin to create mini chocolate cakes or cupcakes. These are great for parties, portion control, and faster baking (typically 15–18 minutes). You can top them with a single chocolate chip or a dusting of powdered sugar.
Servings & Storage
- Standard Yield: A full 9-inch round cake or 9x13-inch pan serves about 10–12 people.
- Cupcakes or mini cakes: Yields about 18–24 cupcakes depending on size.
- Storage Tips:
- Store tightly wrapped at room temperature for up to 3 days.
- Refrigerate for longer storage (up to 5–6 days), but let it come to room temp before serving.
- Freeze slices individually wrapped in plastic and foil for up to 2 months.
Optional: Chocolate Ganache Frosting
For an extra layer of indulgence, top the cooled cake with a smooth ganache.
Ganache Instructions:
- Place 1 cup of chocolate chips in a heatproof bowl.
- Heat ½ cup heavy cream in a saucepan until it just begins to simmer (do not boil).
- Pour the hot cream over the chocolate chips and let sit for 2 minutes.
- Stir until smooth, then stir in 1 tablespoon of butter for a glossy finish.
- Let cool slightly before pouring over the cake. The ganache will thicken as it cools.
Serving Suggestions
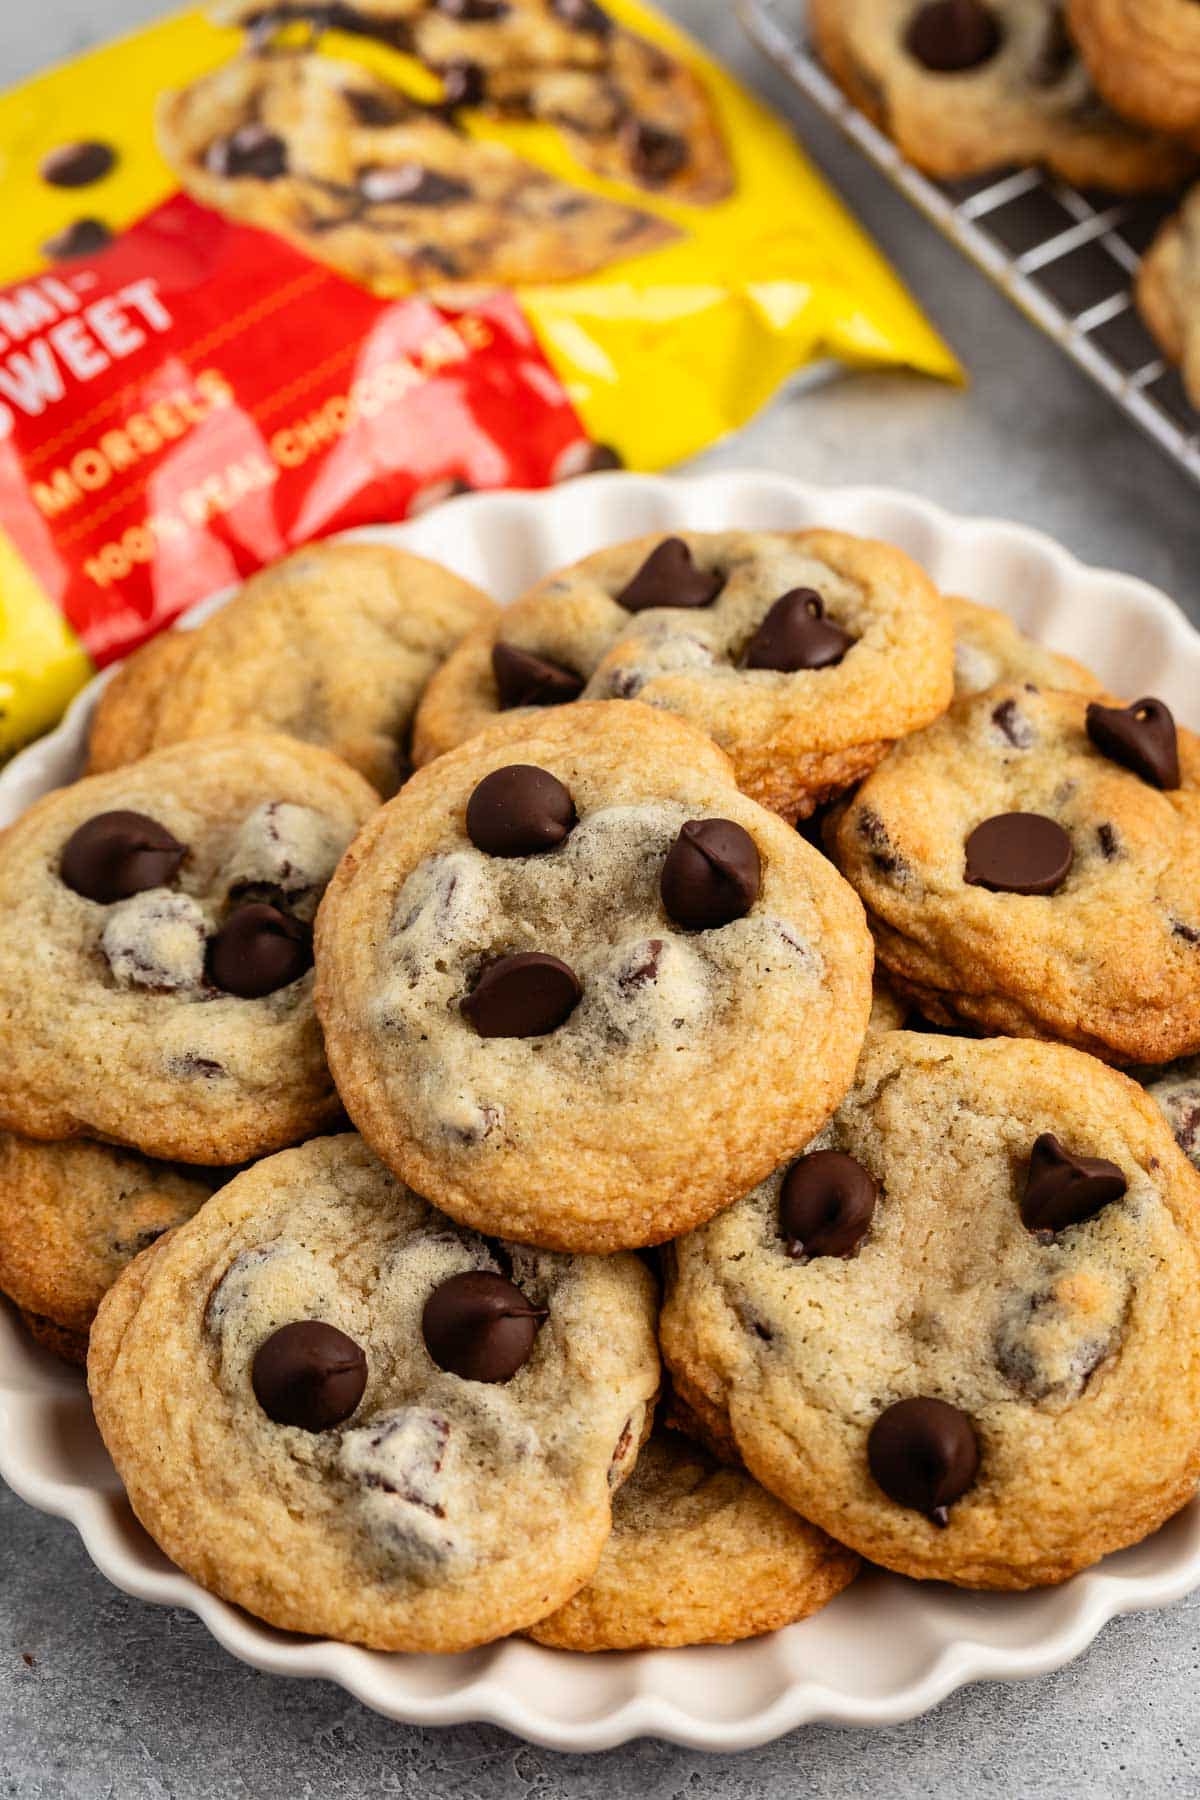
Slice and serve as-is, or pair it with a scoop of vanilla ice cream and a drizzle of chocolate syrup. For a layered cake, spread ganache or whipped cream between layers and decorate with extra chocolate chips or fresh berries.
Tips & Variations
- Moisture Boost: Substitute part of the butter with sour cream or Greek yogurt for a richer, denser cake.
- Add Crunch: Mix in chopped walnuts or pecans with the chocolate chips for texture.
- Make It Mocha: Use strong brewed coffee instead of hot water to enhance the chocolate flavor even more.
- Holiday Twist: Add a pinch of cinnamon or nutmeg for a warm, spiced version.
- Mini Versions: This batter can also be used for cupcakes—bake at 350°F for 18–20 minutes.
Storage
- Store the cake covered at room temperature for up to 2 days.
- Refrigerate for up to 5 days (bring to room temp before serving).
- Freeze unfrosted layers for up to 3 months. Wrap in plastic and foil.
Conclusion
This Nestlé Toll House Chocolate Cake is a foolproof, crowd-pleasing dessert. Whether you’re baking for a celebration or a casual night in, this cake delivers a rich chocolate flavor, a tender crumb, and that nostalgic Toll House chocolate chip taste. It's the kind of recipe you’ll come back to again and again—simple, classic, and always delicious.
Pin this recipe to share with your friends and followers.
Frequently Asked Questions
What makes Nestlé Toll House Chocolate Cake unique?
Nestlé Toll House Chocolate Cake is known for its rich, indulgent flavor thanks to the use of Nestlé Toll House semi-sweet chocolate chips or baking chocolate.
It blends the classic taste of Toll House cookies with the moist texture of a traditional chocolate cake, offering a fudgy, satisfying dessert that’s perfect for chocolate lovers.
Can I use other types of chocolate instead of Toll House chips?
While you can substitute other brands or types of chocolate, using Nestlé Toll House chips maintains the authentic taste and texture.
You may also experiment with milk chocolate, dark chocolate, or even white chocolate chips, though it will alter the flavor profile slightly.
For best results, stick with semi-sweet Toll House chips or chunks.
Can I make the cake ahead of time or freeze it?
Yes, the cake can be made a day or two in advance and stored in an airtight container at room temperature.
To freeze, let the cake cool completely, wrap it tightly in plastic wrap and foil, and freeze for up to 2 months. Thaw at room temperature before serving. Freezing works best without frosting or glaze.
How can I make the cake extra moist or rich?
To enhance moisture, consider adding a bit of sour cream, plain yogurt, or buttermilk to the batter. Espresso powder or a splash of brewed coffee can deepen the chocolate flavor without making it taste like coffee. Avoid overbaking to preserve softness.