
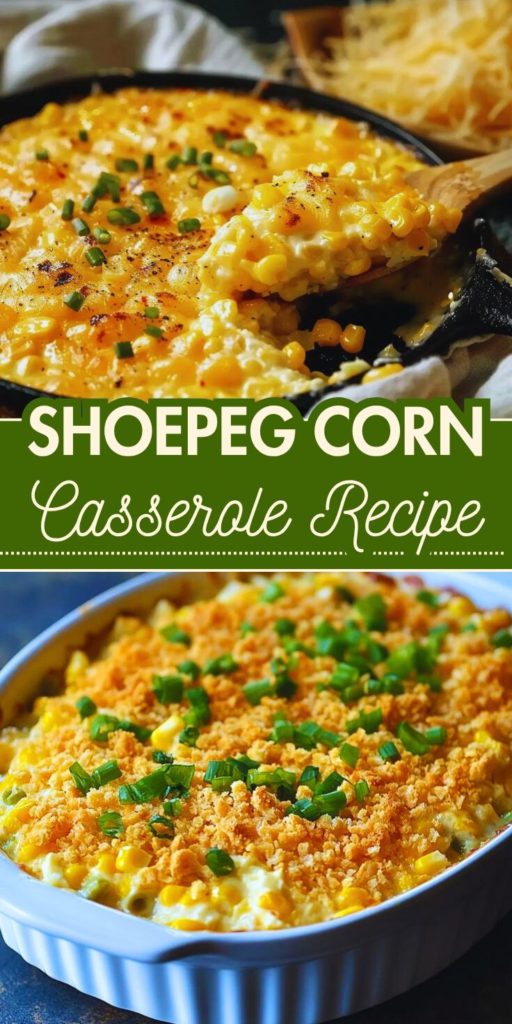

Get ready to meet the undisputed star of every potluck and holiday table: The Ultimate Shoepeg Corn Casserole! This isn’t just a side dish; it’s a nostalgic, creamy symphony of sweet corn kernels suspended in a rich, velvety base. Forget the tired, basic corn recipes you’ve seen—this version elevates simple ingredients into pure comfort food magic.
We’re talking about that elusive, perfectly textured bake, where the pop of the signature small, sweet shoepeg corn meets a savory blend of sour cream, butter, and just the right amount of subtle seasoning. Click that share icon and bookmark this delectable guide for later—seriously, you need to save this pin for recipe!
Whether you’re planning a Thanksgiving feast or simply craving a taste of down-home goodness, this recipe is guaranteed to steal the show.
Prepare for friends and family to request this creamy delight at every gathering from now on.
The Ultimate Shoepeg Corn Casserole Recipe
Description
The Ultimate Shoepeg Corn Casserole is a delightful, savory baked dish that elevates the simple goodness of sweet corn into a comforting side perfect for any gathering, particularly holiday feasts.
This casserole distinguishes itself from ordinary creamed corn by featuring shoepeg corn—a unique white, non-starchy, small-kernel variety—known for its crisp bite and sweet flavor, which holds its texture better than standard yellow corn.
It’s an incredibly rich dish, achieved by blending the corn with cream cheese, butter, and a hint of sugar and salt, giving it a wonderfully creamy, yet firm, custard-like texture.
A crucial step involves folding in a small amount of crushed butter crackers (like Ritz) right into the mix, which prevents the casserole from becoming watery and ensures the entire dish bakes into a cohesive, golden-brown marvel.
It’s the ultimate combination of sweet, salty, and creamy, providing a perfect counterpoint to roast turkey, ham, or barbecue. It's truly a hassle-free, single-dish wonder that disappears fast!
Ingredients
For the Crunchy Topping:
Instructions
-
The Flavor Infusion and Oven Preparation
Begin by preheating your oven to 350∘ F (175∘C). Prepare a 2-quart or 8×8-inch baking vessel by lightly coating the interior with non-stick spray or a thin layer of butter. If you are using the diced onion, take an extra moment to sauté the onion in a teaspoon of butter until it is translucent. This essential step mellows the sharpness of the onion and deepens the overall flavor profile of the casserole. Set the sautéed onion aside to cool slightly.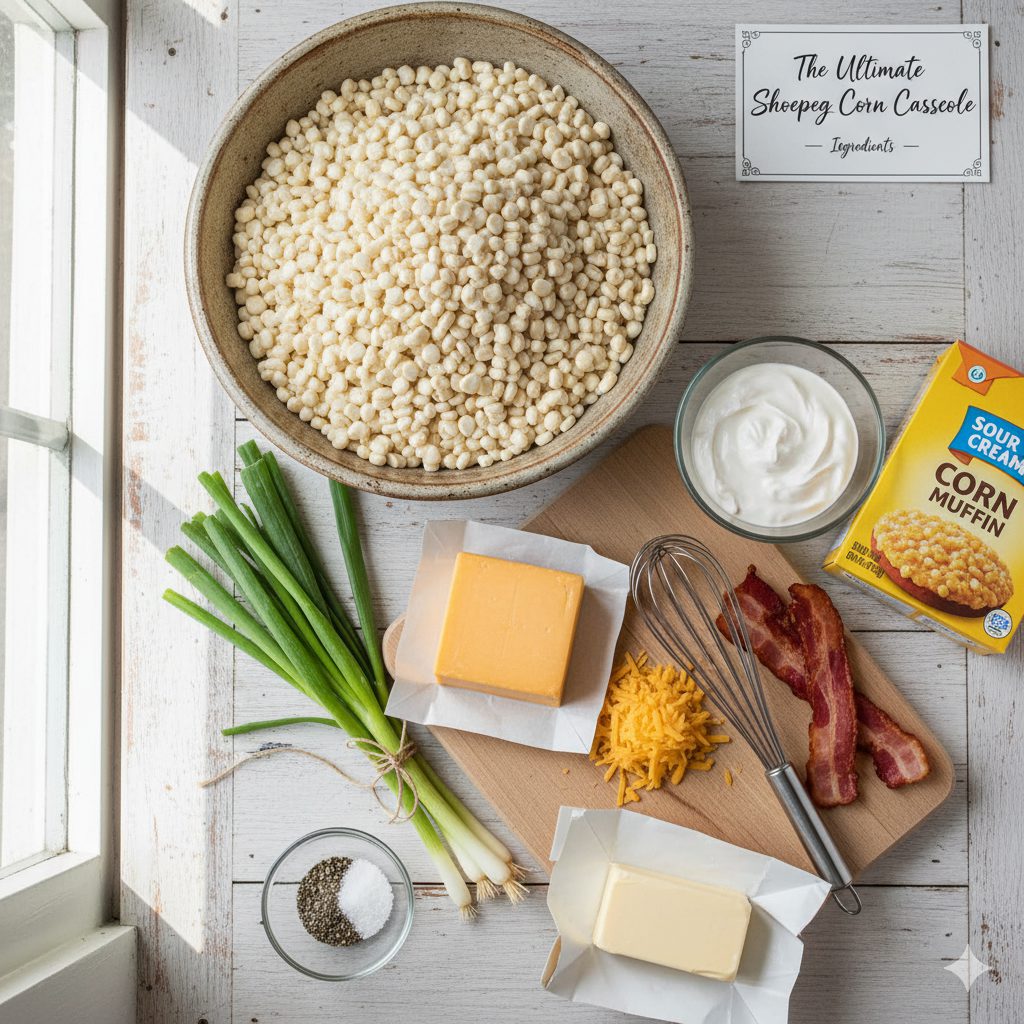
-
Crafting the Creamy Core
In a generously sized mixing bowl, combine the foundation ingredients. Start with the cream of celery soup and the sour cream, mixing them together until they form a completely smooth, cohesive dairy base. Next, blend in the reserved garlic powder, salt, and black pepper. Achieving a uniform, lump-free mixture here is key to a silky final texture. -
Integrating the Textural Elements
Once the creamy base is complete, it is time to introduce the main textures. Gently fold in the drained shoepeg corn and the drained green beans (along with the cooled sautéed onion, if used). Ensure you scrape the edges of the bowl as you combine everything slowly. The goal is to distribute the corn and beans evenly throughout the creamy matrix without over-mixing. Overworking the batter can sometimes lead to a slightly tough texture upon baking. -
The Cheesy Blend and Pan Assembly
Now, add the grated sharp cheddar cheese to the corn mixture. Give the mixture one final, gentle stir to incorporate the cheese. Pour the entirety of the corn filling into your prepared baking dish, using a spatula to ensure the surface is spread into an even layer from corner to corner. This guarantees uniform baking and an attractive appearance.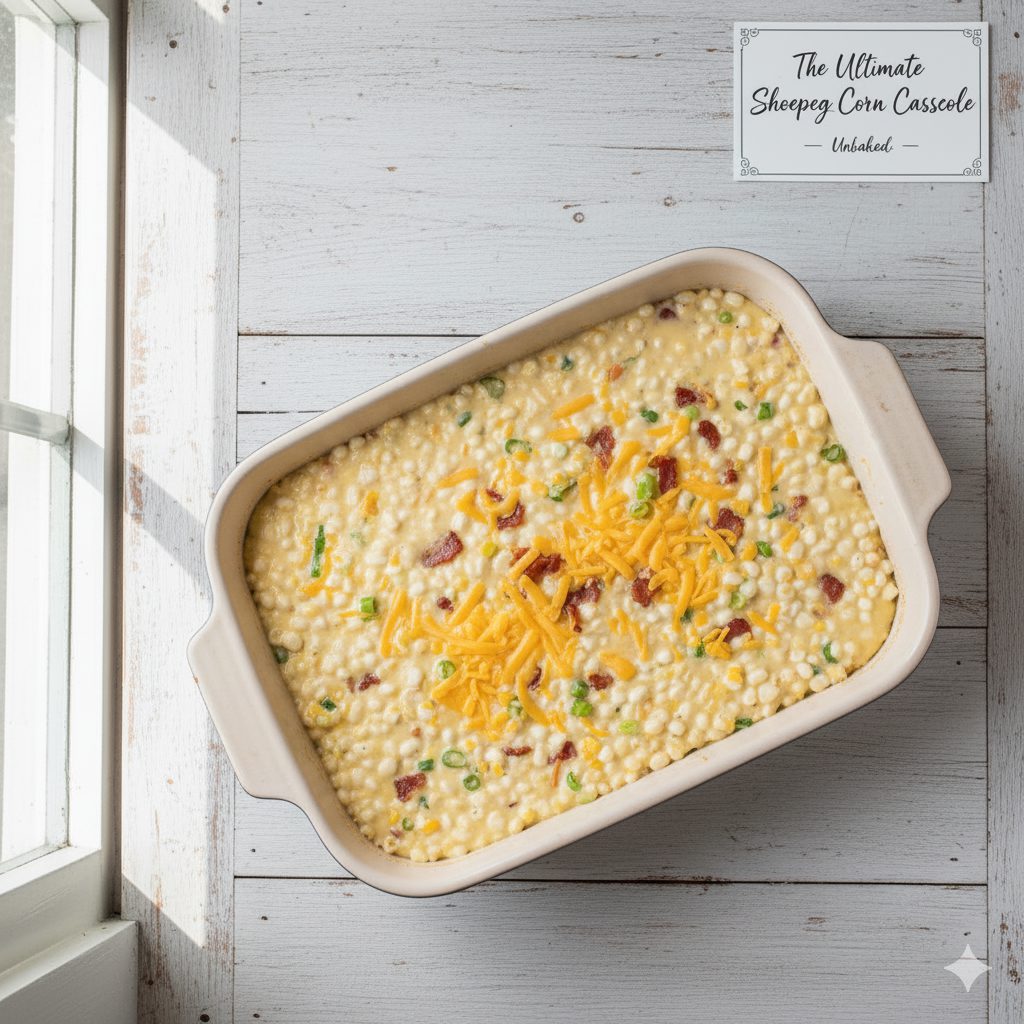
-
Perfecting the Golden Topping
In a separate, small bowl, prepare the signature crispy crown. Pour the melted butter over the coarsely crushed buttery crackers. Use a fork to toss and stir the crumbs until every piece is completely saturated and glistening with butter. The buttery coating is what allows the crumbs to bake into a beautiful, golden-brown crust rather than simply drying out. Sprinkle this entire crunchy topping evenly over the surface of the corn mixture in the baking dish.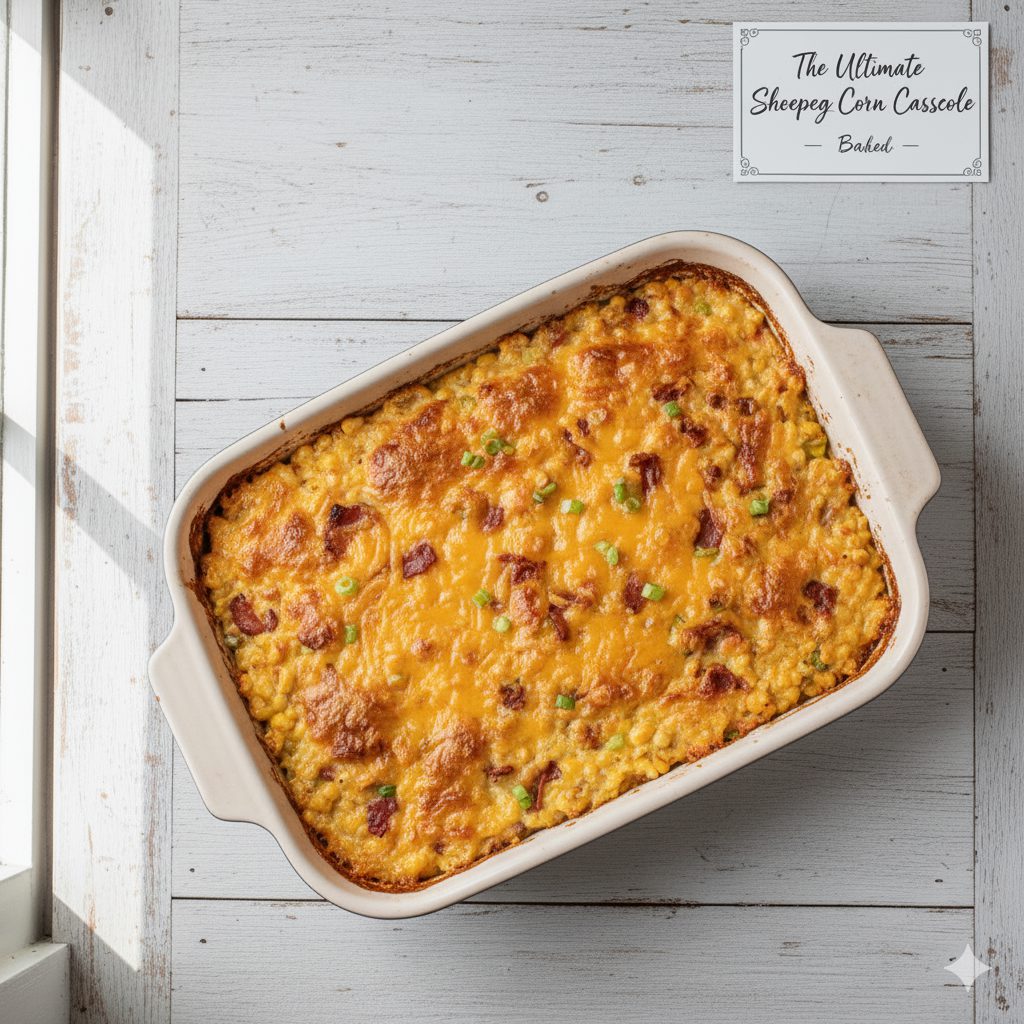
-
Baking and Final Rest
Place the prepared casserole into your preheated 350∘F (175∘ C) oven. Bake uncovered for 35 to 40 minutes. The casserole is perfectly finished when the edges are visibly bubbling and the buttery cracker topping has achieved a deep, rich golden hue. Once removed from the oven, let the casserole rest on a wire rack for 5 to 10 minutes before portioning and serving. This short rest allows the rich filling to set completely, ensuring every scoop is firm and creamy.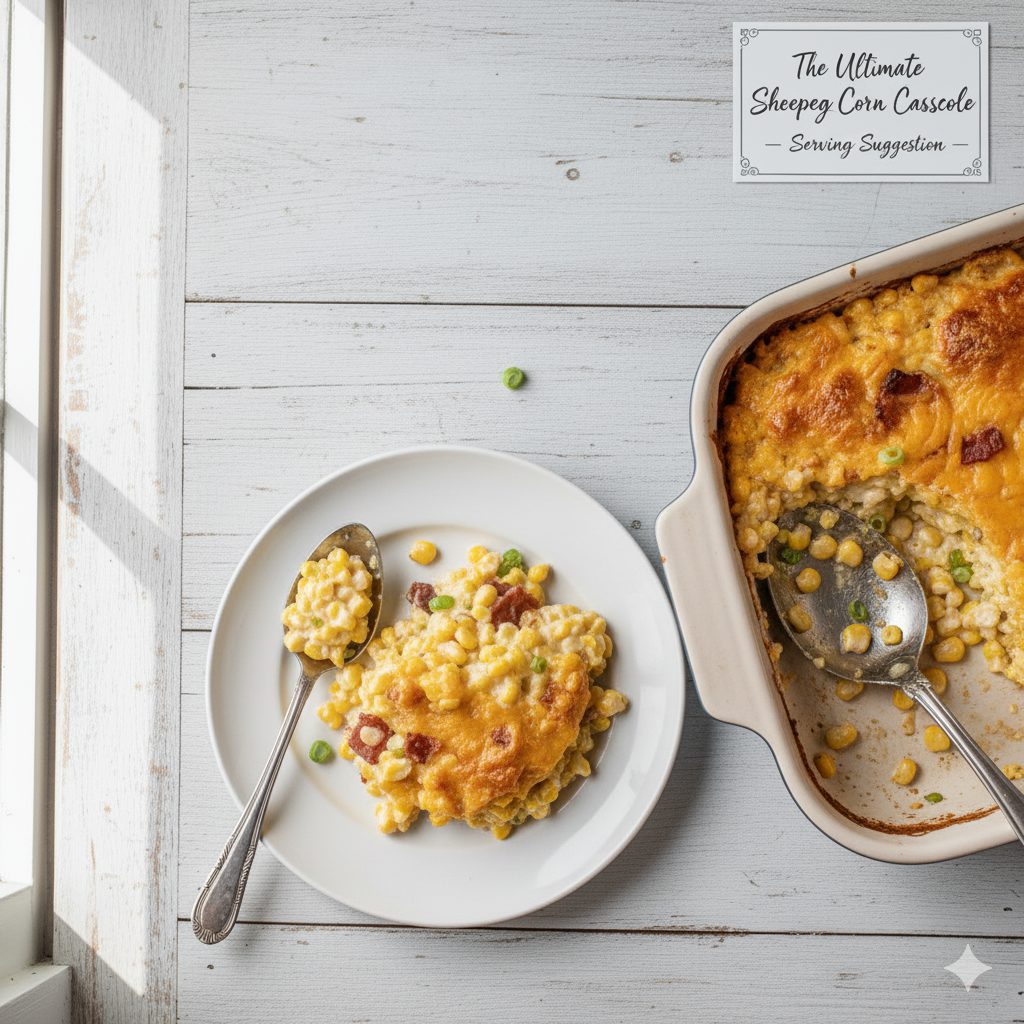
Nutrition Facts
Servings 6
- Amount Per Serving
- Calories 285kcal
- % Daily Value *
- Total Fat 18g28%
- Saturated Fat 9g45%
- Cholesterol 45mg15%
- Sodium 410mg18%
- Potassium 230mg7%
- Total Carbohydrate 26g9%
- Dietary Fiber 2g8%
- Sugars 6g
- Protein 5g10%
- Calcium 80 mg
- Iron 0.7 mg
* Percent Daily Values are based on a 2,000 calorie diet. Your daily value may be higher or lower depending on your calorie needs.
Note
Ultimate Casserole Tips: Achieving Perfection
To elevate this simple side dish to its "Ultimate" status, attention must be paid to preparation and ingredients.
Key Preparation Tips
- The Corn Draining Essential: The most critical step is thoroughly draining the corn. Any residual liquid will thin the rich, creamy binder, resulting in a watery, soupy casserole instead of the desired firm, creamy texture. Use a colander and let it sit for a few minutes.
- Aromatics First: If your recipe calls for raw onions, celery, or bell peppers, sauté them lightly in butter before adding them to the mixture. This softens their texture, mellows their harsh raw flavor, and pre-activates their sweetness, ensuring they blend seamlessly into the creamy base.
- Preventing a Cracked Top: Casseroles often crack because they cook too quickly and unevenly. Place the baking dish inside a larger roasting pan and fill the outer pan with hot water. The gentle, moist heat prevents the edges from setting too fast, resulting in a smoother, more custard-like interior.
- The Cheese Mix-In: While Sharp Cheddar is traditional, adding a secondary cheese like Cream Cheese (cubed and melted into the base) or Smoked Gouda can drastically increase the creaminess and introduce a richer, more complex flavor profile.
Serving Tricks for Presentation and Flavor
A casserole can often be visually plain, but a few simple techniques can transform it from a simple side to a stunning focal point on your table.
Presentation and Garnish
- The Golden Finish: For the final 5 minutes of baking, sprinkle the top with an extra handful of finely shredded Parmesan cheese or a mix of paprika and herbs. This creates a visually appealing, perfectly golden-brown crust.
- Serving Vessel Swap: If baking in a utilitarian glass dish, consider transferring it to an attractive ceramic serving dish for presentation. For a party, bake it in individual ramekins for single-serving portions that look elegant and make distribution effortless.
- Herb Contrast: The rich, savory dish benefits from a burst of freshness. The green contrast against the golden top is beautiful, and the fresh herb flavor cuts through the richness.
Flavor Pairings
The casserole's sweet, creamy, and salty profile pairs exceptionally well with robust, savory main dishes.
- Holiday Roasts: Roasted turkey, baked ham, or beef tenderloin.
- Grilled Meats: BBQ chicken, smoked brisket, or grilled pork chops.
- Seafood: Simple baked salmon or skillet-seared scallops.
Creative Variations for Customization
The ultimate Shoepeg Corn Casserole should be a reflection of your personal taste. These variations offer easy ways to modify the texture, heat, and flavor.
Heat and Spice Variations
- Green Chile Tang: They add a vibrant, earthy flavor without intense heat.
- Spicy Kick: For those who like a bite, introduce finely minced jalapeño (with seeds removed for milder heat) or a pinch of cayenne pepper into the corn mixture.
- Smoky Depth: Add a few drops of liquid smoke or incorporate diced, fully cooked bacon or pancetta into the batter.
Topping Texture Alternatives
The classic topping is usually crushed Ritz-style crackers tossed in butter. Try these alternatives for a different crunch:
- Southern Crunch: Use crushed Corn Flakes mixed with melted butter and a dash of garlic powder.
- Nutty Elegance: A mix of toasted slivered almonds and panko breadcrumbs provides a lighter, crispier texture.
- Savory Chew: Toss a handful of French-fried onions onto the topping for the last few minutes of baking to brown them.
Nutritional and Veggie Boosts
- Add-in Vegetables: The casserole is often combined with French-cut green beans or sometimes diced bell peppers. You can also include diced zucchini or yellow squash to lighten the dish. Ensure all canned vegetables are completely drained.
- Gluten-Free Option: Simply replace the butter cracker topping with crushed potato chips or a certified gluten-free cracker for a topping that's just as crunchy and flavorful.
Storage and Reheating Techniques
A great side dish is even better when it can be made ahead of time and reheated without losing quality.
Make-Ahead and Refrigerator Storage
- Unbaked Prep: Combine all the wet filling ingredients and pour them into the baking dish. Do not add the topping yet. Cover tightly and refrigerate.
- Leftover Storage: Once the casserole is cooled, transfer leftovers to an airtight container and refrigerate for up to 3 to 4 days.
Freezing and Reheating
- Freezing: This casserole freezes well. Bake and cool it completely. Cover the dish tightly with a layer of plastic wrap, followed by a layer of aluminum foil. It can be kept in the freezer for up to 3 months. Thaw it overnight in the refrigerator before reheating.
- Reheating: The microwave is faster but may compromise the texture and topping crunch.
Conclusion: A Culinary Comfort
Its foundation is a unique corn variety encased in a creamy, savory binder, creating a dense yet delicate side that complements everything from a simple weeknight roast to a grand holiday feast. By paying attention to the small details—like pre-cooking the aromatics, ensuring thorough draining, and choosing the perfect crunchy topping—you move beyond a basic recipe to a truly perfected dish that is guaranteed to earn rave reviews.
Pin this recipe to share with your friends and followers.