
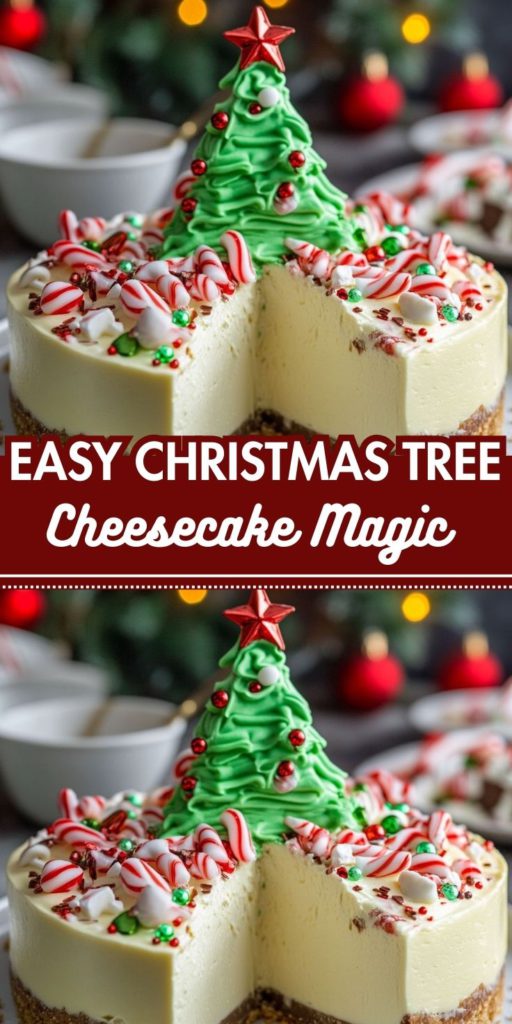

Tired of the same old holiday desserts? Prepare to unlock the magic of the Easy Christmas Tree Cheesecake! This isn’t just a dessert; it’s a centerpiece that captures the festive spirit without demanding hours of work in the kitchen.
Imagine a creamy, velvety cheesecake base, perfectly chilled, transformed into the iconic shape of a dazzling Christmas tree, complete with vibrant green color and edible ornaments. It brings all the elegance of a holiday showstopper with none of the baking fuss.
Pin this dazzling dessert idea now—it’s your holiday secret weapon!
It’s the perfect sweet escape, offering a lighter, brighter alternative to heavy cakes and pies. Whether you’re a beginner or a seasoned baker, this simple recipe lets you create a stunning, Instagram-worthy dessert that tastes as wonderful as it looks.
Get ready to impress your family and friends with this creamy, minty, or vanilla-flavored festive indulgence that turns any holiday table into a wonderland.
Easy Christmas Tree Cheesecake Magic
Description
Get ready to transform dessert into a dazzling holiday centerpiece with the Easy Christmas Tree Cheesecake Magic!
This no-bake masterpiece captures the festive spirit without any fussy baking. Imagine a creamy, velvety smooth cheesecake filling, infused with a hint of vanilla, piled high on a perfectly crisp graham cracker crust.
The "magic" happens when this glorious filling is shaped into a majestic Christmas tree, complete with a classic star tip design. It’s then draped in a vibrant, jewel-toned glaze or dusted with powdered sugar snow, and garnished with colorful candies that mimic holiday ornaments.
This dessert is the ultimate blend of simple preparation and spectacular presentation. It delivers pure Christmas joy in every cool, decadent bite, making it the perfect showstopper for your holiday table and an easy way to spread cheer.
Ingredients
For the Filling:
For the Decoration:
Instructions
-
Forge the Cookie Base
In a mixing vessel, stir the pulverized cookies (or crackers), melted butter, and sugar until the components are thoroughly combined and possess a heavy, damp, sand-like texture. Transfer this mixture into the bottom of a 9-inch springform pan. Use the flat base of a kitchen tool, like a glass bottom, to force the crumb mixture into a solid layer spanning the pan floor. Put the pan in the fridge to harden the base while you work on the filling.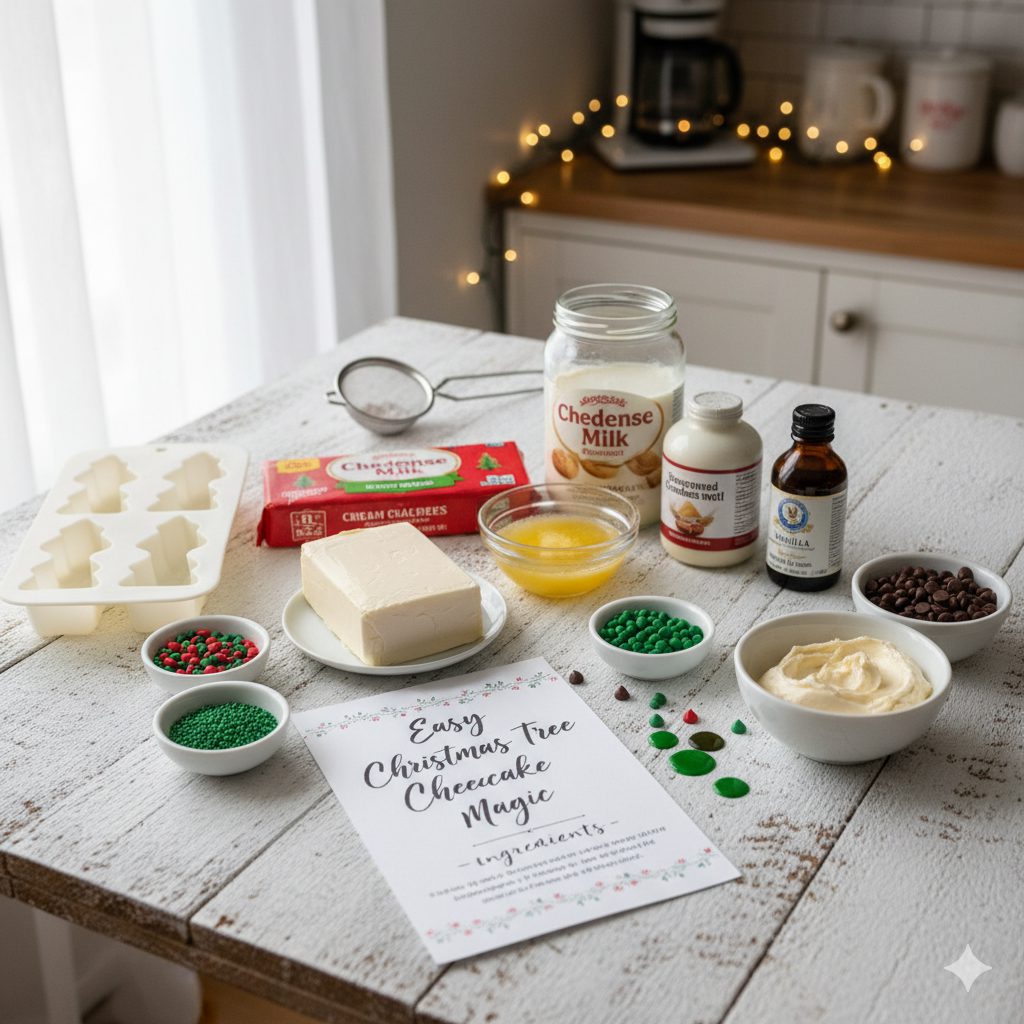
-
Initialize the Cream Base
Place the room-temperature cream cheese into a roomy bowl suitable for mixing. Use your electric mixer on a medium setting to whip the cheese until it's light and totally uniform. Periodically pause the mixing process to scrape the sides of the mixing bowl using a spatula, ensuring all the cream cheese is incorporated flawlessly.
-
Integrate Sweeteners and Essence
Slow the mixer speed to a crawl. Slowly pour in the strained confectioners' sugar along with the vanilla flavor. Blend only until the ingredients are fully married, resulting in a smooth, flawless mixture. Be careful not to beat the mixture excessively, which could thin out the batter. -
Aerate the Filling
Detach the bowl from the mixer. With a soft, broad spatula, gently introduce the thawed whipped topping into the cream cheese mixture. Employ a soft, over-and-under motion—a folding technique—to preserve as much air as possible in the mixture, yielding a light, airy final result. -
Incorporate the Signature Cake Pieces
Carefully mix the diced Christmas Tree Cakes into the prepared filling. Blend them in softly to achieve a scattered distribution of the cake chunks throughout the creamy matrix. The aim is to keep the pieces intact so every slice holds a surprise pop of festive color. -
Fill and Initiate Solidification
Deposit the entire mixture atop the chilled crust. Use the spatula to gently guide the filling to the perimeter of the pan and create a perfectly level top surface. Drape the pan with a loose layer of kitchen film and return it to the refrigeration unit. Permit the cake to set firmly for a minimum of six to eight hours (or better, let it solidify overnight).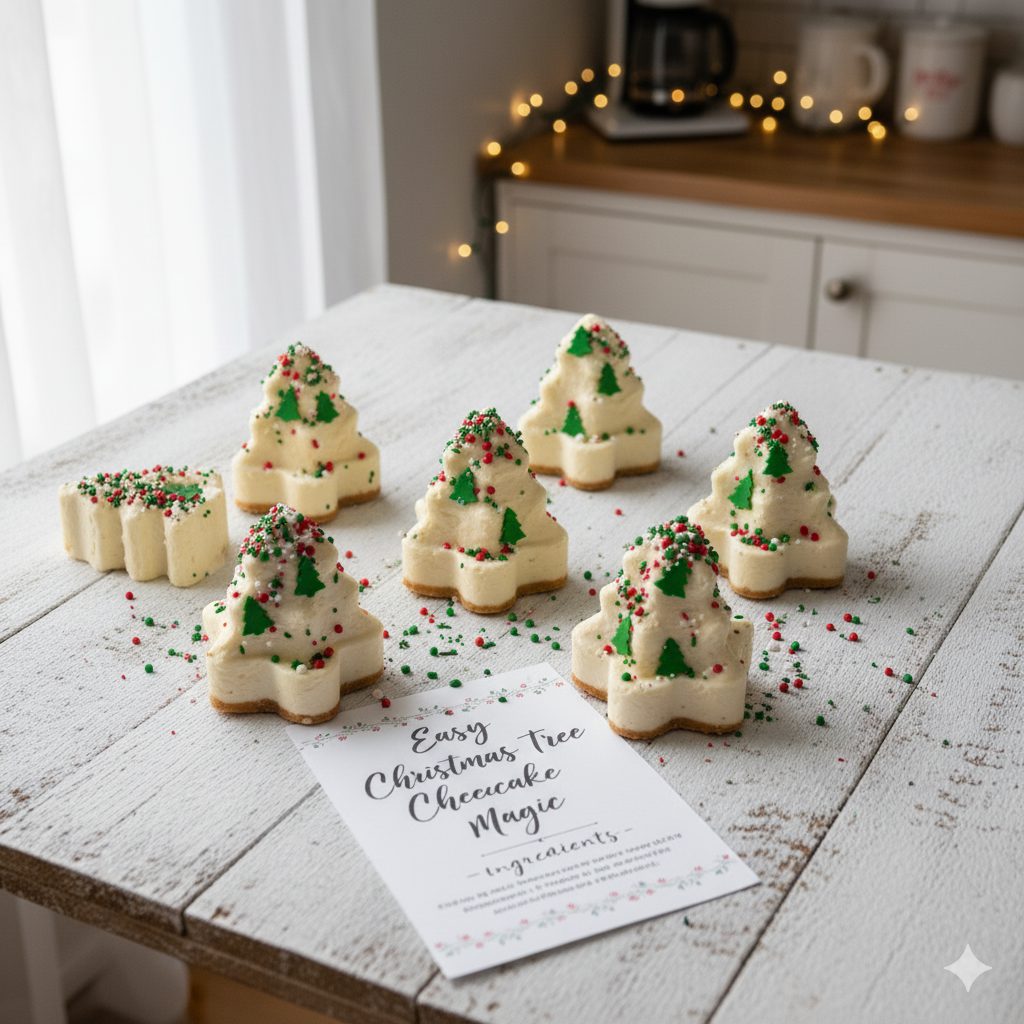
-
The Final Display
When the cheesecake is completely firm and ready, release the springform pan's outer ring with care. Dust the cake's edge with the green sanding sugar. Arrange the halved Christmas Tree Cakes attractively on the surface. Conclude the decoration by using the red decorator icing to pipe signature wavy stripes across the top. Serve the cheesecake chilled.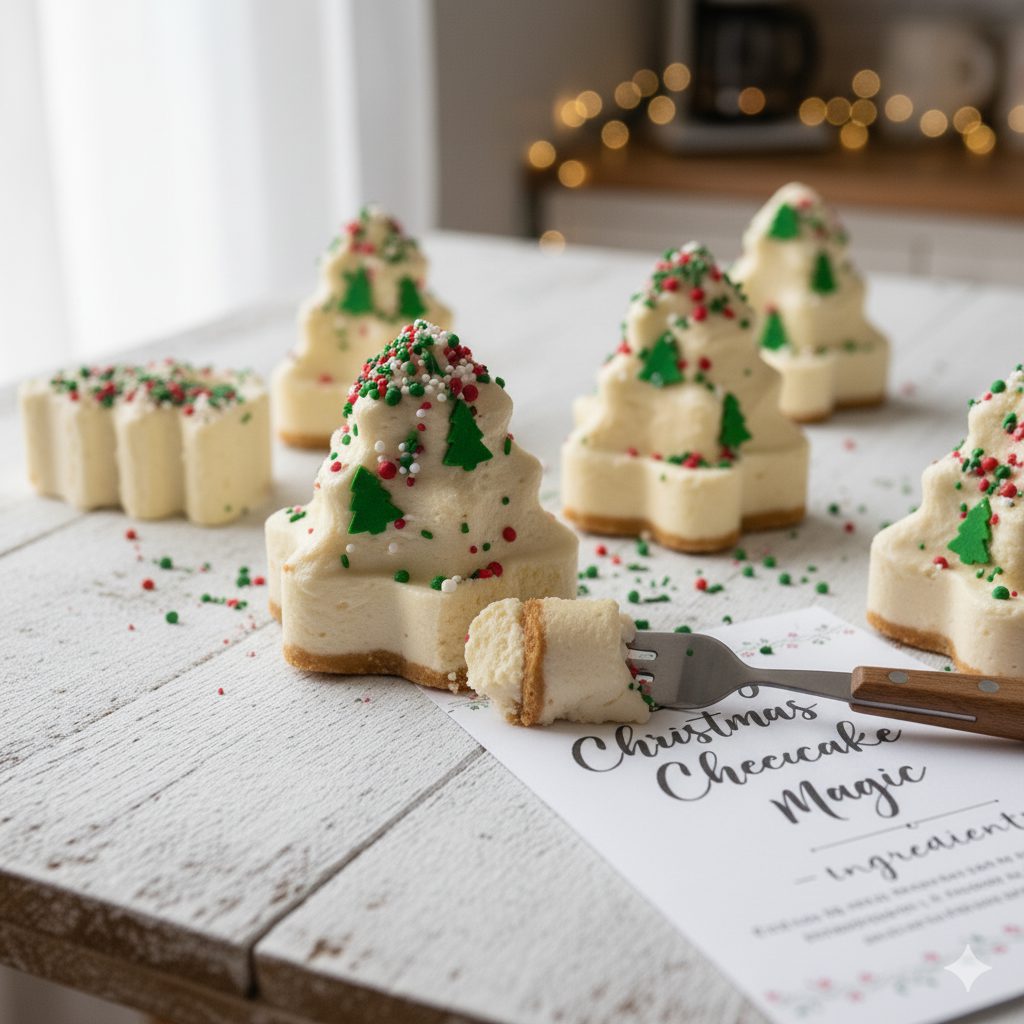
Nutrition Facts
- Amount Per Serving
- Calories 420kcal
- % Daily Value *
- Total Fat 26g40%
- Saturated Fat 15g75%
- Cholesterol 90mg30%
- Sodium 240mg10%
- Total Carbohydrate 34g12%
- Dietary Fiber 0.5g2%
- Sugars 25g
- Protein 6g12%
* Percent Daily Values are based on a 2,000 calorie diet. Your daily value may be higher or lower depending on your calorie needs.
Note
Easy Christmas Tree Cheesecake Magic
I. The Magic Tips and Tricks for Success
Achieving that perfect, crack-free, and beautifully decorated cheesecake relies on a few expert techniques:
A. Mastering the Creamy Filling
- Room Temperature is Non-Negotiable: Ensure your full-fat cream cheese, eggs, and any dairy (like sour cream or heavy cream) are completely at room temperature.
- The Low-Speed Pledge: Mix the cheesecake batter on the absolute lowest speed possible. Overmixing is the primary cause of cracks, as it introduces air bubbles that expand in the oven and then collapse upon cooling.
- The Air-Bubble Tap: After pouring the filling into your pan, gently but firmly tap the pan on the counter three to four times. This action encourages large, trapped air bubbles to rise and pop, preventing unsightly fissures in the finished surface.
- The Gentle Bake (Water Bath): For a baked version, a water bath (or bain-marie) is key. Wrap the bottom of your springform pan securely in heavy-duty aluminum foil and place it inside a larger pan. This method creates a moist, consistent, and gentle heat that promotes even baking, resulting in a silkier texture and preventing cracks.
B. Achieving the Signature Look
- Crumb Base Layering: If using pre-made Christmas tree cakes, chop a few and fold them directly into the cheesecake batter for an interior surprise, and reserve some slices to press into the top of the crust before pouring the batter over, ensuring they appear cleanly when sliced.
- Ganache Glaze: The glossy white surface is best achieved with a simple white chocolate ganache or a thinned canned vanilla frosting.
- The Iconic Swirl: Use red gel icing or melted red candy melts to pipe the signature wiggly red lines. Green sanding sugar provides the tree-like sparkle.
II. Serving and Presentation Tricks
The reveal is everything with this dessert. Use these tricks to maximize the "wow" factor:
- Hot Knife, Clean Slices: To achieve picture-perfect cuts, use a long, sharp knife. Before each slice, run the blade under hot tap water, wipe it completely dry with a towel, and then make a single, clean cut. Repeat this process for every slice.
- Festive Plating: Serve slices on white plates dusted with a light layer of powdered sugar around the base of the slice to mimic a snowy ground.
- Garnish Perfection: A dollop of fresh whipped cream and a single gold star sprinkle at the very top of each slice completes the tree theme. You can also place small chocolate kisses (silver or gold wrapped) around the base of the cake for "presents."
- The Big Reveal: Because this is a very tall and rich cheesecake, it is best served in small slices. A 9-inch cheesecake can easily serve 12 to 16 people due to its richness.
III. Creative Variations
This dessert is easily adaptable to different flavors and formats:
- Flavors of the Season:
- Peppermint Bark: Add 1/2 teaspoon of peppermint extract to the batter and swirl in finely crushed candy canes or peppermint bark before baking/chilling. Top with a dark chocolate ganache.
- Chocolate Forest: Use an Oreo or chocolate wafer crust instead of graham crackers. Use chocolate cream cheese for the filling and top with a chocolate ganache, decorating it with the green and red sprinkles.
- Gingerbread Base: Swap the classic crust for a gingersnap crust for a spiced holiday twist. This pairs wonderfully with a vanilla or eggnog-flavored filling.
- Format Flexibility:
- Mini Cheesecake Cups: Layer the crust, filling, and chopped tree cakes in small shot glasses, mason jars, or mini cupcake liners. This eliminates slicing entirely and provides perfect individual servings.
- Cheesecake Tree Pops: Bake the filling in small ice cream cones (lined with parchment for easy removal) or a sheet pan. Cut the chilled/frozen cheesecake into triangle shapes and insert a stick for a cheesecake "pop," then dip the entire thing in green melted candy coating and decorate.
IV. Storage and Make-Ahead
Cheesecake is an ideal make-ahead holiday dessert, as it requires extended chilling time.
- Refrigeration: Once decorated with the ganache, it is best consumed within 3 days.
- Freezing (The Best Option): Cheesecake freezes beautifully. Bake and cool the cheesecake completely, but do not apply the topping/ganache or decorations.
V. Conclusion: The Holiday Showstopper
The Easy Christmas Tree Cheesecake is more than just a recipe; it's a piece of holiday nostalgia transformed into an elegant, manageable dessert. By observing simple rules—primarily using room-temperature ingredients and practicing low-speed mixing—you can guarantee a flawless, creamy result. Its inherent adaptability allows for creative flavor twists, while its festive decoration ensures it serves as the ultimate, unforgettable centerpiece. It’s a perfect illustration of how simplicity and patience lead to true dessert magic during the bustling holiday season.
Pin this recipe to share with your friends and followers.