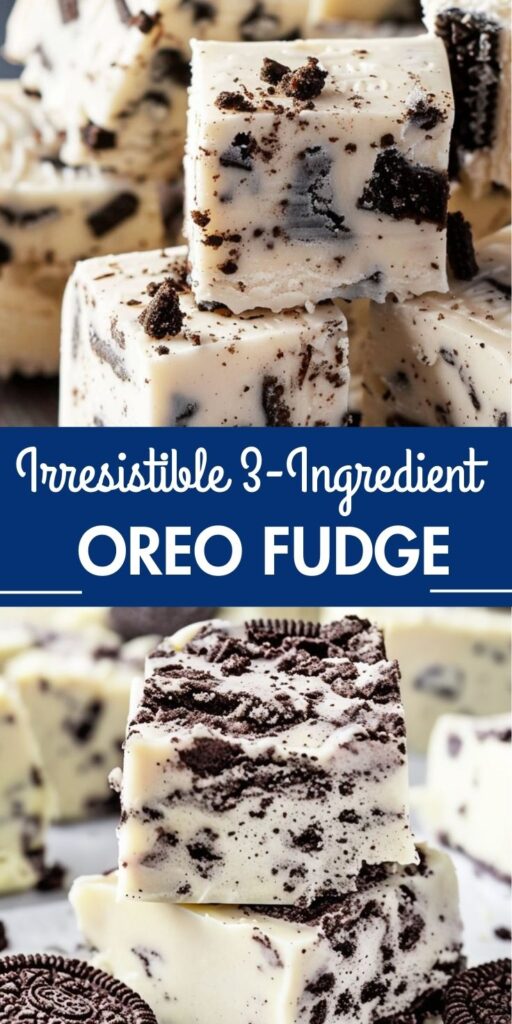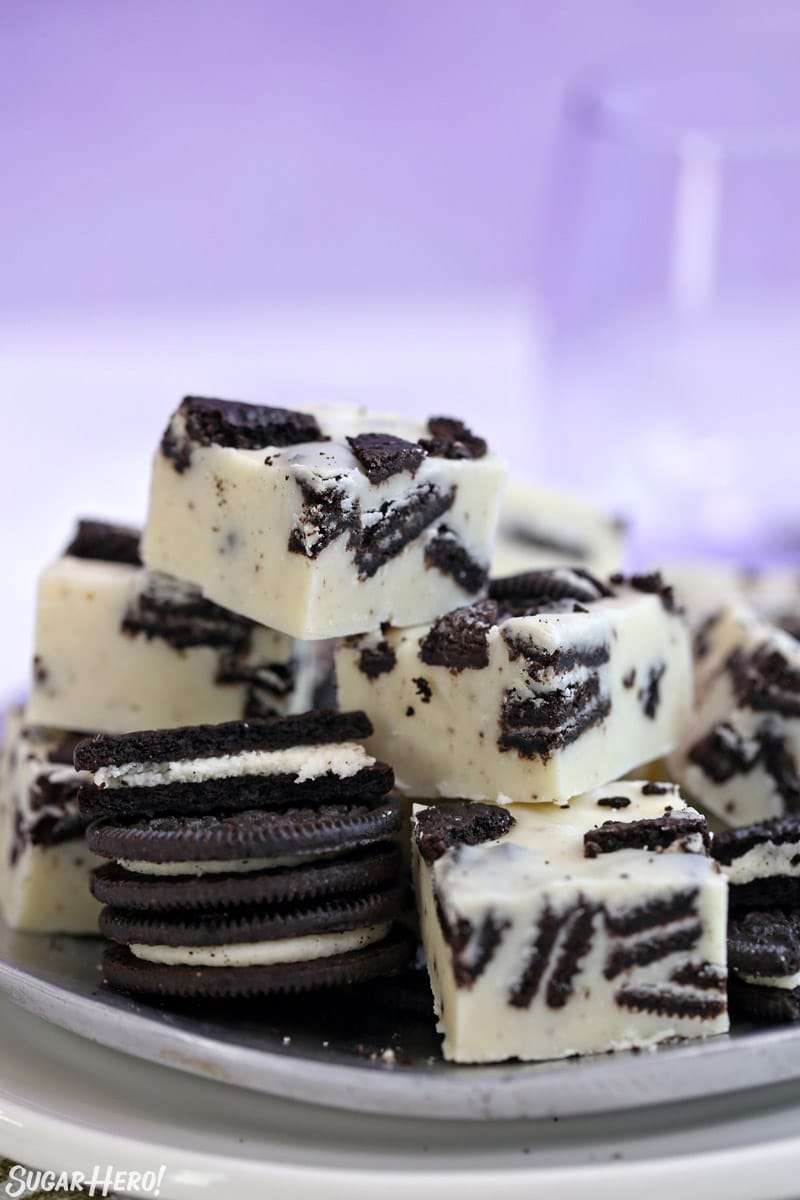
If you’re a chocolate lover searching for a dessert that’s ridiculously easy yet utterly decadent, look no further than this 3-Ingredient Oreo Fudge. Imagine biting into a rich, creamy chocolate base studded with chunks of iconic Oreo cookies—every bite melts in your mouth while giving you that irresistible crunch.
The best part? It only takes three simple ingredients, making it a perfect treat for last-minute parties, holiday gatherings, or even a cozy night in. And here’s a little tip for the sweet-toothed explorers out there: save this pin for recipe—you’ll want to come back to it again and again.
This fudge is one of those magic recipes that feel luxurious but require almost no effort. In just a few minutes, you can mix together melted chocolate, sweetened condensed milk, and crushed Oreos, pour it into a pan, let it set, and voilà—fudgy perfection. No complicated techniques, no lengthy baking times, just simple ingredients delivering extraordinary flavor.
Whether you’re sharing with friends, gifting to neighbors, or sneaking a bite yourself, this Oreo fudge is guaranteed to disappear fast. It’s the ultimate combination of creamy, chocolatey, and crunchy—all in one bite. Get ready to impress without the stress!
Irresistible 3-Ingredient Oreo Fudge
Description
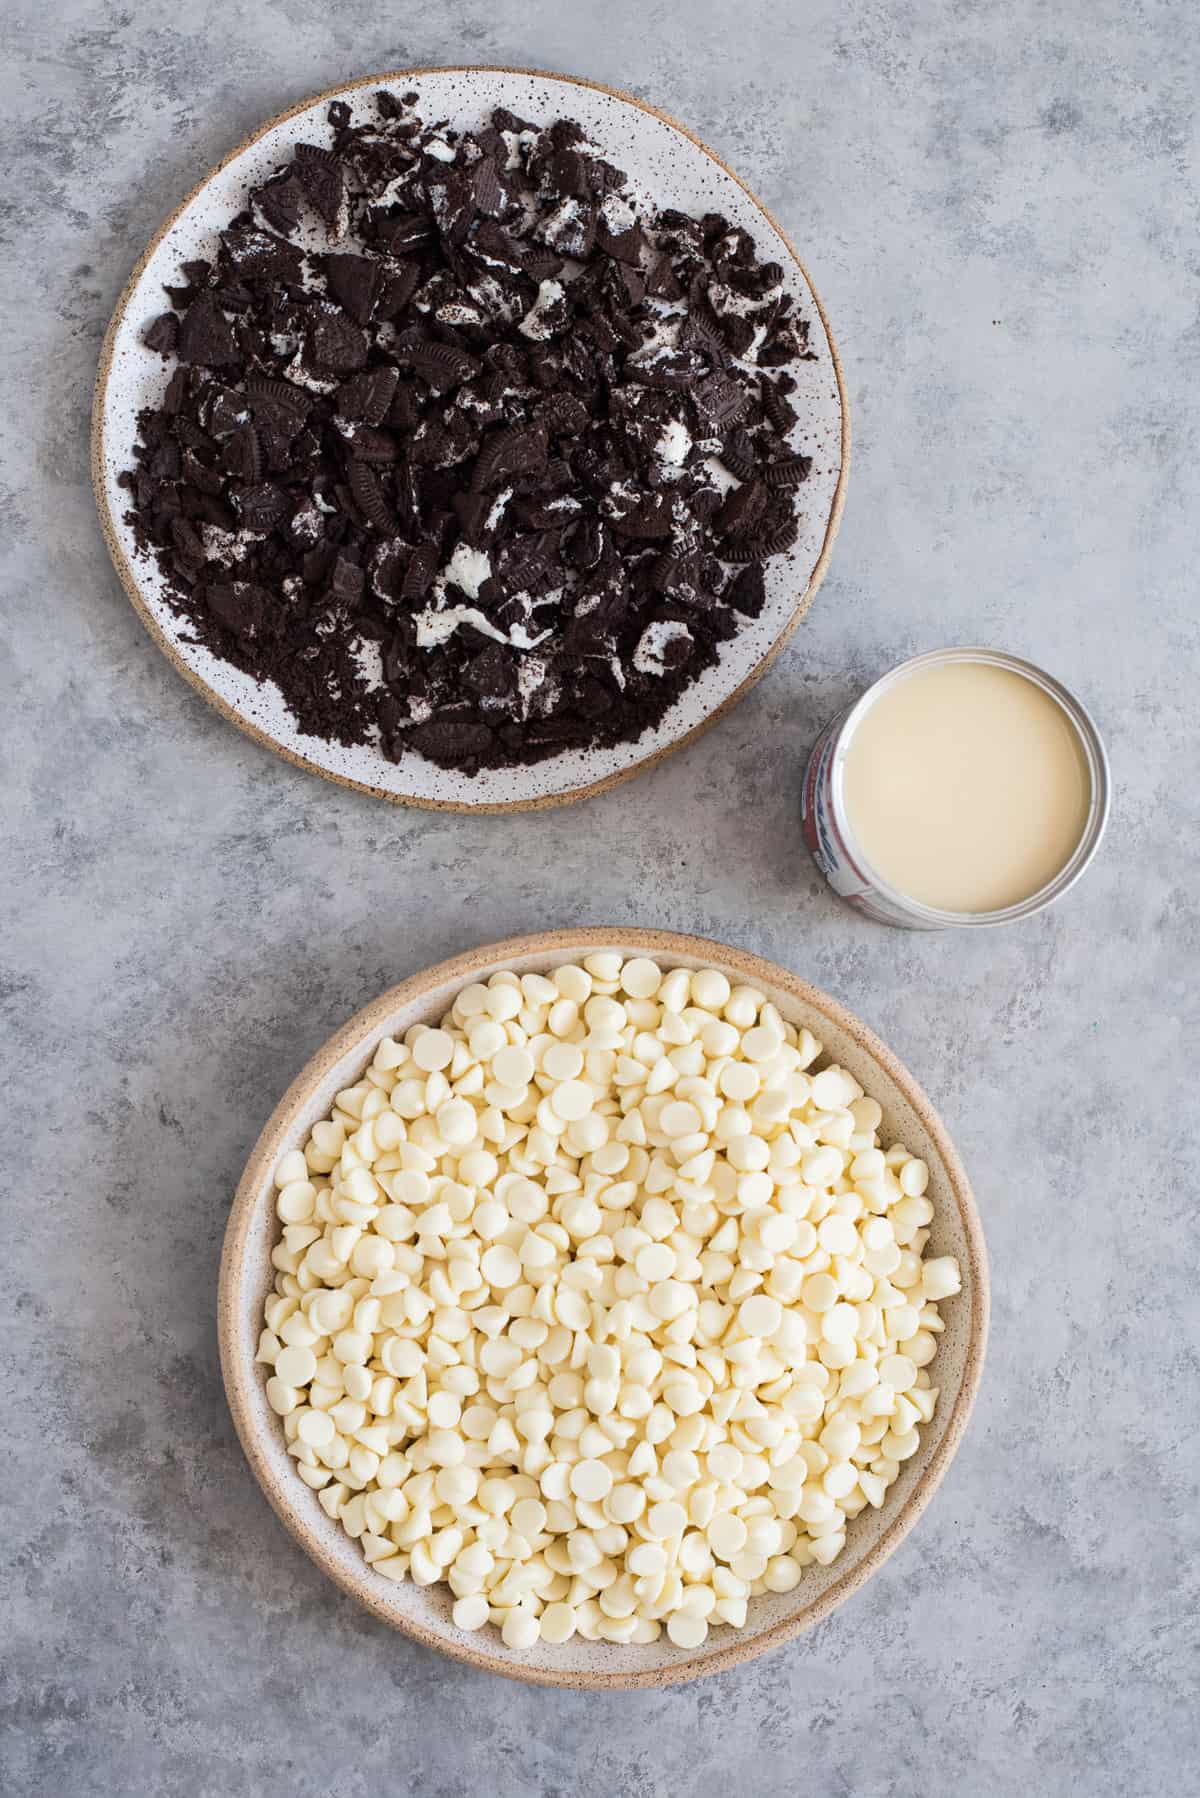
Indulge in the ultimate no-fuss dessert with this Irresistible 3-Ingredient Oreo Fudge! Made with just Oreos, sweetened condensed milk, and chocolate chips, this treat is as simple as it is decadent.
The rich chocolate melts together with the creamy condensed milk, while chunks of crunchy Oreos add texture and a burst of flavor in every bite.
Perfect for last-minute celebrations, gifting, or a sweet snack, this fudge requires minimal effort but delivers maximum taste. Easy to make, quick to set, and impossible to resist, it’s the perfect crowd-pleaser for any occasion.
Ingredients
Instructions
-
Start by lining an 8x8-inch square baking pan with parchment paper or aluminum foil. Make sure to leave a bit of overhang on the sides so it’s easy to lift the fudge out once it’s set. Lightly grease the lining with a tiny bit of butter or nonstick spray to prevent sticking.
-
In a medium saucepan, combine the sweetened condensed milk and white chocolate chips. Heat over low to medium heat, stirring constantly until the chocolate is fully melted and the mixture is smooth and glossy. Be careful not to overheat; chocolate can scorch quickly if the heat is too high. Once melted, remove the pan from heat.
-
Gently fold in the roughly chopped Oreo cookies, ensuring each piece is coated in the creamy white chocolate mixture. You want an even distribution so that every bite of fudge has that perfect chocolate-cookie crunch.
-
Pour the mixture into your prepared baking pan, spreading it evenly with a spatula. If desired, press a few extra Oreo pieces on top for an attractive presentation.
-
Place the pan in the refrigerator for at least 2 hours, or until the fudge is firm to the touch. While it may be tempting to cut into it early, chilling ensures that the fudge holds its shape and cuts cleanly.
-
Once fully set, lift the fudge out using the overhanging parchment paper or foil. Slice it into small squares using a sharp knife. For neat edges, you can wipe the knife with a warm, damp cloth between cuts.
Nutrition Facts
Servings 20
- Amount Per Serving
- Calories 210kcal
- % Daily Value *
- Total Fat 11g17%
- Saturated Fat 6g30%
- Cholesterol 15mg5%
- Sodium 90mg4%
- Total Carbohydrate 27g9%
- Dietary Fiber 1g4%
- Sugars 22g
- Protein 2g4%
* Percent Daily Values are based on a 2,000 calorie diet. Your daily value may be higher or lower depending on your calorie needs.
Note
Irresistible 3-Ingredient Oreo Fudge: Tips, Tricks, and Serving Ideas
If you’re looking for a simple, no-fuss dessert that feels decadent but takes almost no time, this 3-ingredient Oreo fudge is a game-changer. With just Oreo cookies, sweetened condensed milk, and chocolate chips, you can create a rich, creamy treat that will wow your family, friends, or guests. Here’s everything you need to know to make it perfectly every time, plus ideas for serving and storing.
1. Ingredients Matter
While the recipe is simple, quality makes a difference. Use fresh Oreo cookies for that classic crunch and flavor. For chocolate, semi-sweet or milk chocolate chips work best—semi-sweet gives a slightly richer, less sweet finish. Sweetened condensed milk is the binding agent, giving the fudge its creamy texture. Make sure it’s well-mixed with the chocolate for smooth, luscious results.
2. Prep Tips for Success
- Crush the Oreos evenly: You can pulse them in a food processor or place them in a zip-top bag and crush with a rolling pin. Some like a mix of small crumbs and slightly larger pieces for a nice texture.
- Line your pan: Use parchment paper in an 8×8-inch pan (or similar) to prevent sticking and make removal effortless.
- Microwave carefully: When melting chocolate with condensed milk, use 20–30 second intervals, stirring in between. Chocolate can burn quickly if overheated. Stirring ensures a smooth, glossy mixture.
3. Mixing Techniques
After melting the chocolate and condensed milk together, fold in the crushed Oreos gently. Overmixing can cause the cookies to break down too much, resulting in a fudgy chocolate block rather than a delightful Oreo texture. Aim for an even distribution of cookie pieces for that satisfying bite in every square.
4. Setting and Storage
Pour the mixture into your lined pan and smooth the top. For a neat finish, tap the pan gently on the counter to remove air bubbles. Let it set in the refrigerator for at least 2 hours before cutting. This ensures clean slices and that the fudge holds its shape.
For storage, keep it in an airtight container in the fridge. It will last up to 1 week, or freeze for up to 2 months. Cut the fudge into small bite-sized squares for easy snacking or gifting.
5. Serving Tips
- Mini treats: Cut the fudge into tiny squares for party platters, making it easy for guests to grab a bite.
- Layered desserts: Use Oreo fudge as a base for parfaits, layering with whipped cream or pudding.
- Decorate creatively: Sprinkle mini Oreos, chocolate shavings, or crushed nuts on top before setting for added flair.
6. Flavor Variations
While the classic version is irresistible on its own, you can experiment with a few twists:
- Add a dash of vanilla extract to enhance the chocolate flavor.
- Mix in white chocolate chips for a contrast in sweetness.
- Fold in a handful of mini marshmallows for a rocky-road style fudge.
7. Tricks for Perfect Texture
- Avoid overcooking: Chocolate should be just melted and smooth; otherwise, it can become grainy.
- Don’t skip refrigeration: Room temperature fudge may be too soft to cut neatly.
- Cut with a sharp, warm knife to avoid crumbling. Run it under hot water, wipe dry, and slice.
8. Fun Serving Ideas
- Gift-giving: Wrap squares in parchment and tie with ribbon—perfect for birthdays or holidays.
- Dessert table: Arrange Oreo fudge with other small treats like brownies or cookies for a visually appealing platter.
- Ice cream topping: Crumble the fudge over vanilla or chocolate ice cream for an instant indulgent sundae.
Tips for Perfection
- For a richer flavor, you can toast the Oreo cookies lightly in the oven before chopping and folding them into the fudge. This brings out the chocolatey notes and adds an extra layer of aroma.
- White chocolate can be sensitive to heat, so always melt slowly over low heat or use a double boiler to prevent burning.
- Customize your fudge by adding a pinch of sea salt to balance the sweetness, or drizzle with melted dark chocolate for a beautiful contrast.
- Store the fudge in an airtight container in the refrigerator for up to 2 weeks. It also freezes well, making it a perfect make-ahead dessert.
Why This Recipe Works
The genius of this 3-ingredient Oreo fudge is in its balance. The sweet, creamy white chocolate provides a luscious texture, while the Oreos add bite and a slight bitterness that prevents the fudge from being overwhelmingly sweet. The sweetened condensed milk binds everything together and gives the fudge a silky consistency that melts in your mouth. Despite having only three ingredients, this fudge tastes luxurious and indulgent, rivaling more complex recipes that require dozens of components.
Serving Suggestions
Serve this fudge at parties, family gatherings, or just as a special treat for yourself. It pairs wonderfully with a hot cup of coffee, tea, or milk. For a festive touch, consider cutting the fudge into mini squares and packaging them in decorative boxes or cellophane bags—perfect for gifting during holidays or birthdays.
Conclusion
If you’re craving a simple yet indulgent dessert, the 3-Ingredient Oreo Fudge is a must-try. It’s quick, easy, and guaranteed to impress. With its creamy white chocolate base and crunchy, chocolatey Oreos, every bite is a heavenly combination of textures and flavors. This recipe proves that sometimes, the simplest ingredients can create the most irresistible treats. Whip it up, chill, slice, and watch it disappear faster than you can say “Oreo fudge!”
Frequently Asked Questions
What are the three ingredients needed?
The recipe is delightfully simple! You’ll need Oreo cookies, sweetened condensed milk, and white or dark chocolate chips. These three ingredients combine to create a rich, creamy fudge with the perfect crunch from the Oreo cookies. No extra flour, butter, or eggs are required, making it a quick and foolproof treat.
Can I use a different type of chocolate?
Absolutely! While white chocolate gives a sweeter, creamier flavor, you can substitute milk chocolate or semi-sweet chocolate chips for a slightly less sweet fudge. Some people even mix white and dark chocolate for a marbled effect. Just make sure the chocolate melts smoothly when combined with the condensed milk.
How long does it take to set, and how should I store it?
Once prepared, the fudge should set in the refrigerator for at least 2 hours until firm. After it’s set, cut it into squares and store in an airtight container in the fridge for up to 1–2 weeks. For longer storage, you can freeze the fudge for up to a month, thawing it in the fridge before serving.
Can I customize this fudge?
Yes! You can get creative by adding a drizzle of caramel, a sprinkle of sea salt, or even crushed nuts on top. Mini Oreos or other sandwich cookies can also be used for a fun twist. This flexibility makes it perfect for holidays, birthdays, or as a last-minute gift.


