

Forget the dry chicken and bland sauce of past attempts; this is a complete reinvention that delivers maximum flavor with surprising ease.
This recipe, which we’ve affectionately dubbed “My New Favorite Chicken Enchiladas,” transforms a classic dish from a simple weeknight meal into a rich, restaurant-quality experience.
We achieve this with two major upgrades: a secret ingredient in the sauce that adds a smoky, complex depth, and a quick stovetop technique that keeps the chicken unbelievably tender.
Do yourself a huge favor and hit that “Add to Collection” or “Pin this Recipe” button right now, because this is the one you’ll be making for every potluck, holiday, and busy Tuesday.
The combination of perfectly seasoned shredded chicken, a deeply satisfying red chili gravy (not just sauce), and a generous blanket of melted cheese is truly addictive. It’s comforting, savory, and has just the right amount of kick to make every bite sing. Get ready to banish all other enchilada recipes from your kitchen forever!
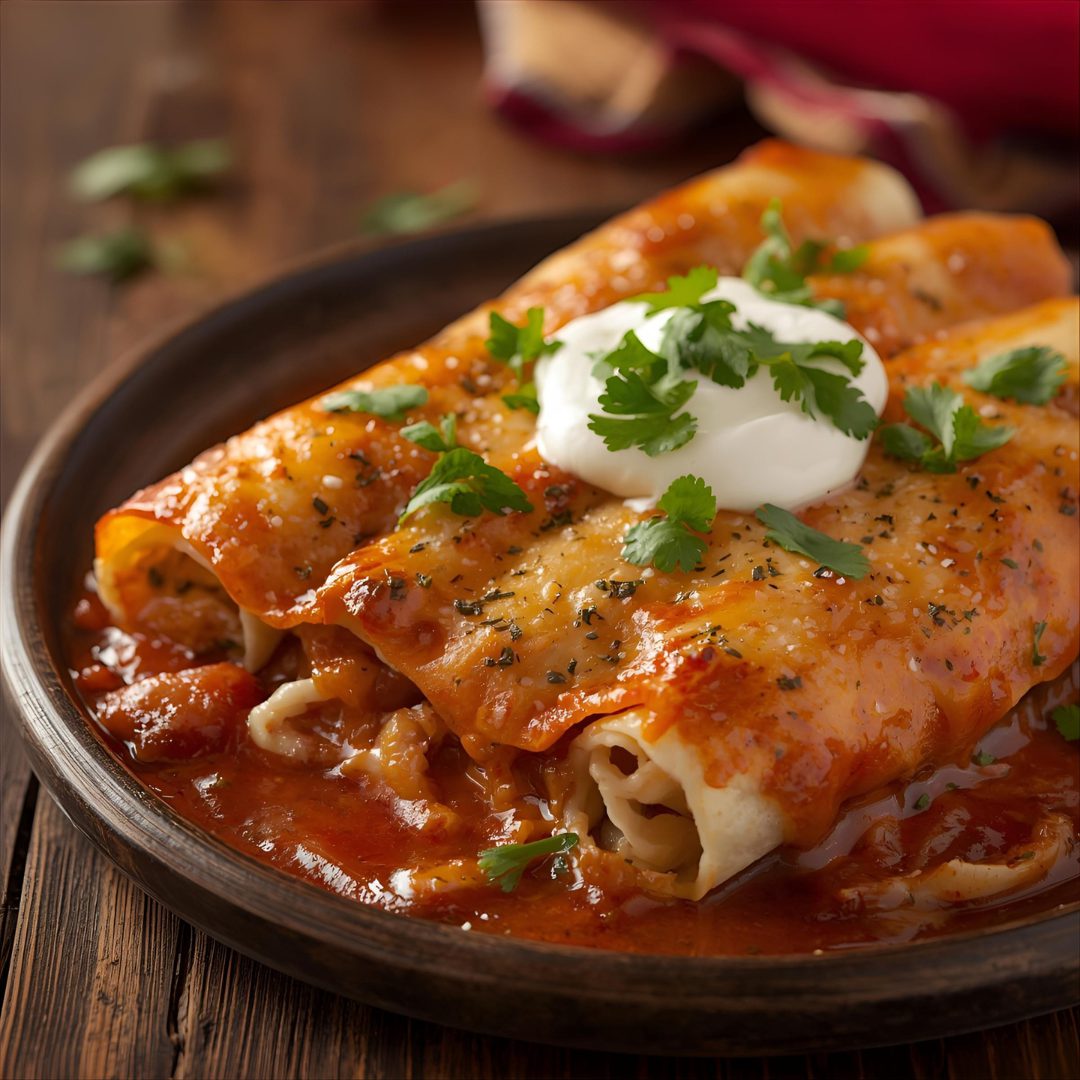
My New Favorite Chicken Enchiladas
Description
Discover the ultimate weeknight hero with this recipe for My New Favorite Chicken Enchiladas, a dish that transforms a simple dinner into a fiesta of flavor.
Forget the bland, overly sauced versions you've had before; this recipe focuses on a rich, smoky filling and a perfectly balanced homemade chili sauce that sings with authentic depth.
The filling combines tender, shredded chicken with a blend of Monterey Jack and cotija cheeses and a touch of roasted green chiles for an earthy kick.
This simple step creates an essential barrier that prevents them from dissolving into the sauce, guaranteeing a delightful, sturdy texture.
Smothered in the silky red chili sauce and baked until the edges are bubbling and the cheese is beautifully caramelized, these enchiladas are pure comfort food perfection, ready to impress any crowd.
Ingredients
For the enchilada sauce:
Additional:
Instructions
-
Create the Savory Chicken Filling
Preheat your oven. In a large mixing bowl, combine the shredded chicken, diced onion, rinsed black beans, and the 1/2 cup of sour cream. Add the 1 teaspoon of cumin and stir thoroughly until all ingredients are evenly coated in the creamy mixture. Next, mix in about 1/2 cup of the shredded Monterey Jack cheese to bind the filling slightly. This seasoned, creamy blend will be the heart of the enchiladas.
-
Prepare the Sauce Base
In a separate bowl, stir together the entire can of red enchilada sauce and the full can of diced green chiles (including the liquid for extra moisture and zing). Pour approximately one-third of this chile-infused sauce into the bottom of your 9×13-inch baking dish. Use a spatula to spread this layer across the bottom of the pan; this prevents the tortillas from sticking and helps them absorb moisture during baking. -
Heat, Fill, and Roll the Tortillas
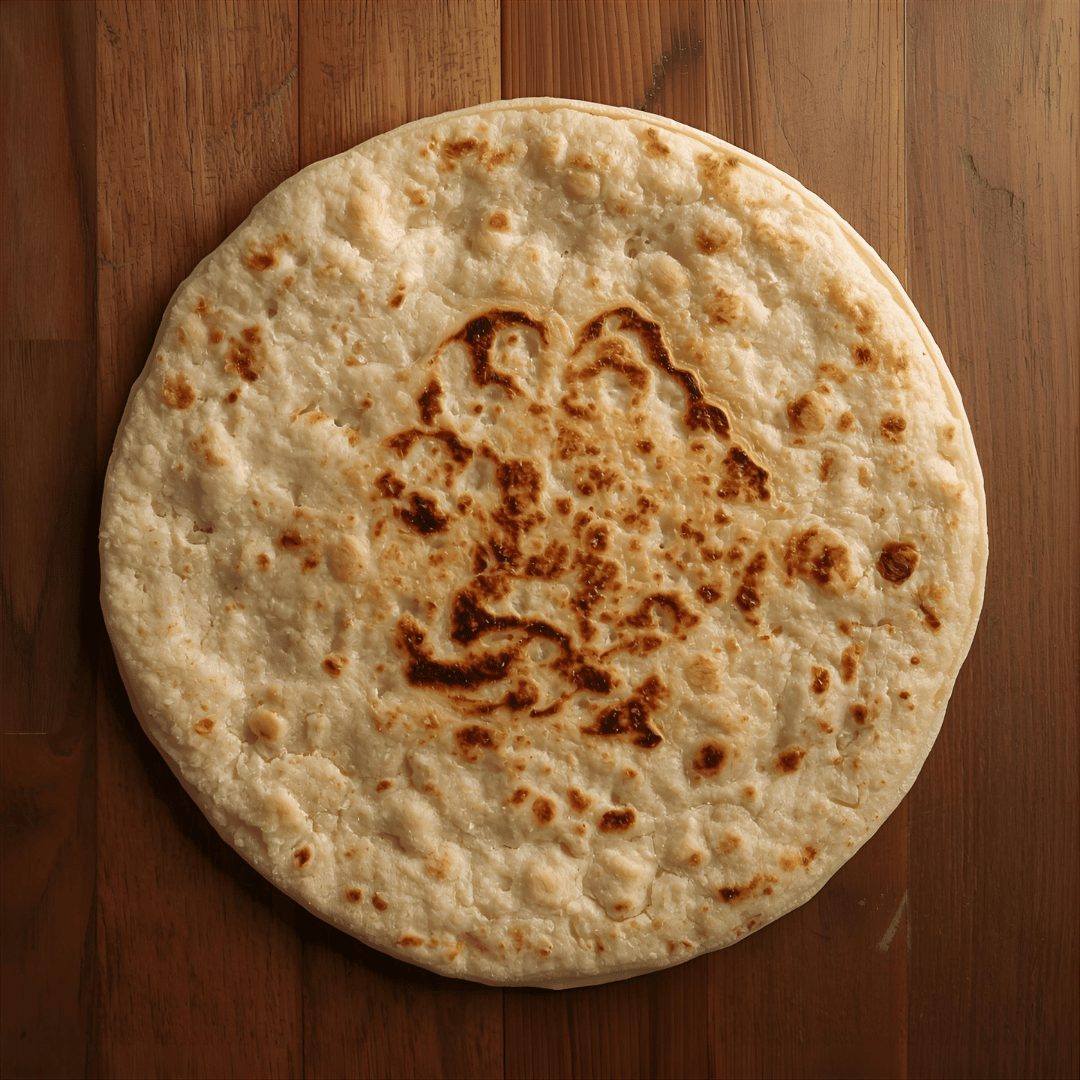
Slightly warm the stack of flour tortillas in the microwave for about 30 seconds wrapped in a damp paper towel to increase their flexibility—this is essential for preventing tears. Working with one warm tortilla at a time, place a generous spoonful (about 1/3 cup) of the chicken and bean mixture in a horizontal line just below the center. Tightly roll the tortilla around the filling and place it in the prepared baking dish, with the seam facing down. Repeat the process, snugly arranging all eight filled tortillas side-by-side in the pan.
-
Smother and Cap with Cheese
Carefully pour the remaining two-thirds of the enchilada sauce mixture evenly over the tops of the tightly rolled tortillas. Ensure the sauce covers as much of the exposed tortilla surface as possible. This ensures a moist and tender result. Finally, distribute the remaining 1 1/2 cups of shredded Monterey Jack cheese across the top of the entire casserole. The dish is now ready for its time in the heat. -
Bake to Bubbling Perfection
Place the uncovered baking dish into the preheated oven. Bake the enchiladas for approximately 20 to 25 minutes. The dish is finished when the sauce is actively bubbling around the edges, the filling is heated all the way through, and the cheese topping has melted completely and acquired a slightly golden hue. Remove the pan from the oven and let it stand for 5 to 10 minutes to allow the structure to set before slicing. Serve hot with your favorite toppings, such as chopped cilantro and a dollop of sour cream.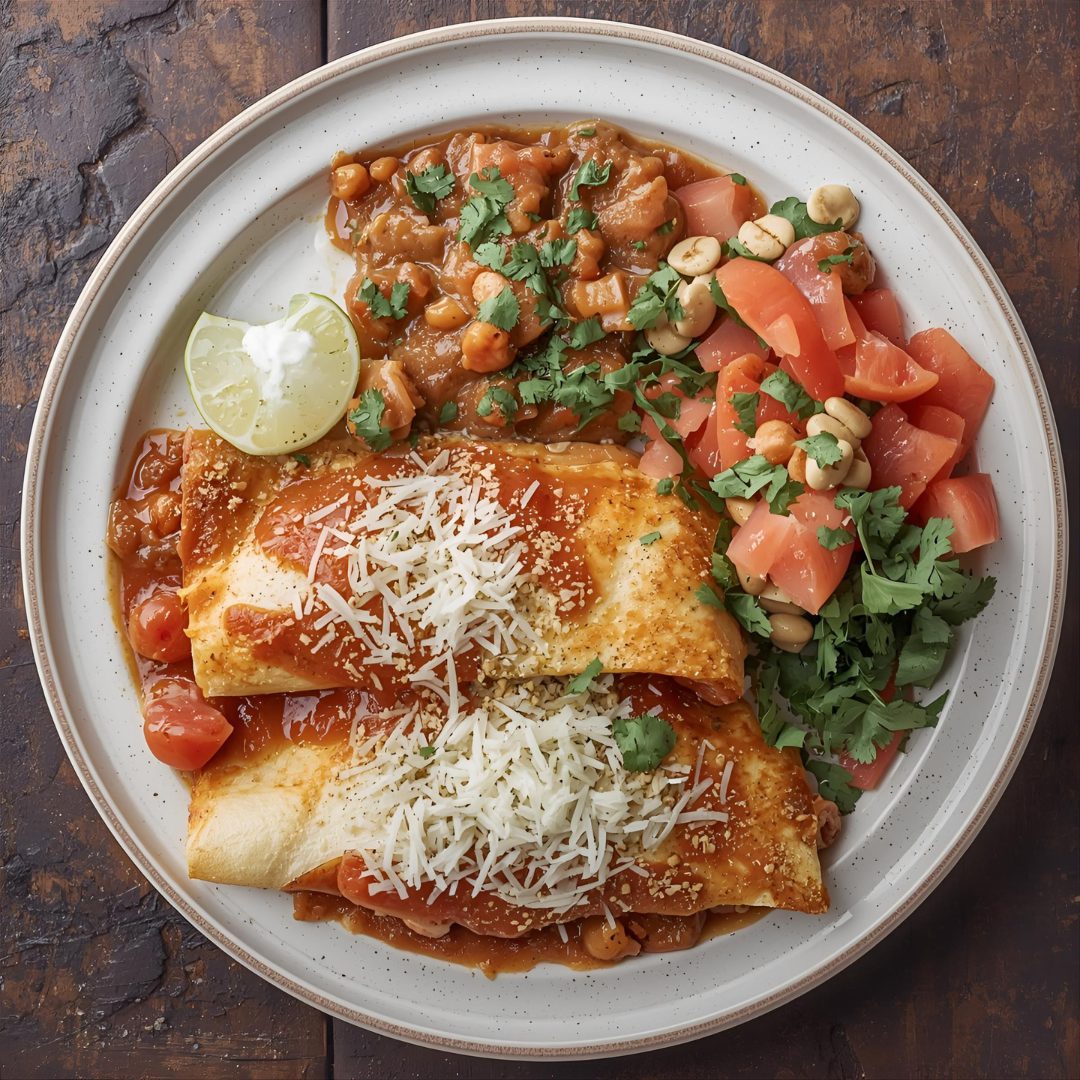
Nutrition Facts
- Amount Per Serving
- Calories 400kcal
- % Daily Value *
- Total Fat 20g31%
- Saturated Fat 9g45%
- Cholesterol 70mg24%
- Sodium 800mg34%
- Total Carbohydrate 35g12%
- Dietary Fiber 4g16%
- Sugars 5g
- Protein 25g50%
* Percent Daily Values are based on a 2,000 calorie diet. Your daily value may be higher or lower depending on your calorie needs.
Note
Mastering My New Favorite Chicken Enchiladas: Tips, Tricks, Variations, and Presentation
Chicken enchiladas, at their heart, are a culinary study in comfort: tender shredded chicken, rich chili-based sauce, and melted cheese, all swaddled in a soft tortilla. While the classic recipe is timeless, elevating this dish involves mastering subtle techniques, approaching the final presentation with creativity, and understanding how to keep the meal fresh, from storage to reheating. This guide provides unique strategies to transform a simple weeknight bake into a show-stopping fiesta.
Expert Tips and Savory Tricks
The difference between a good enchilada and a truly unforgettable one lies in preventing the dreaded "soggy bottom" and maximizing flavor in every component.
1. The Tortilla Treatment (Soggy-Proofing): The primary cause of a mushy enchilada is a tortilla that acts like a sponge for the sauce. The unique trick is a quick oil bath and sauce dip. Lightly heat a small amount of oil (corn or vegetable) in a skillet and quickly fry each corn tortilla for only 10 to 15 seconds per side. This flash-fry creates a slight barrier, making the tortilla pliable while sealing its exterior. Immediately after, dip the warm tortilla in your enchilada sauce before filling it. This prevents cracking and ensures the tortilla is seasoned throughout without oversaturating it. The result is a structurally sound, flavorful vessel.
2. The Filling Secret (Moisture Control): A dry chicken filling leads to a lackluster bite. The essential tip is to use a Binder Blend. Instead of simply tossing shredded chicken with spices, mix it with a small amount of a rich, creamy element that melts but won't thin the final dish. This could be a combination of sour cream, softened cream cheese, or, uniquely, a tablespoon of refried beans per cup of chicken. The beans not only add flavor and fiber but also naturally thicken the filling, holding the chicken pieces together perfectly and preventing them from spilling out during rolling.
3. Layering Technique (Flavor Dynamics): To achieve dynamic flavor, use the sauce strategically. When rolling, reserve approximately one-third of the sauce. Once the enchiladas are rolled and lined up, pour the remaining sauce over the top, letting it seep in. Finally, top with cheese. This method ensures both the bottom and top are seasoned, yet it avoids smothering the rolls in a way that encourages sogginess.
Creative Serving and Presentation Tricks
Enchiladas are typically served straight from the pan, but a thoughtful presentation elevates the dining experience.
1. The "Topping Bar" Experience: Instead of simply spooning sour cream and cilantro onto the final dish, present the enchiladas with a Gourmet Topping Bar. This allows each diner to customize their plate. Unique topping options include: * Spicy Crunch: Pickled red onions, thinly sliced radishes, or toasted pepitas (pumpkin seeds). * Cooling Contrast: Mexican Crema (a thinner, tangier version of sour cream), crumbled cotija cheese (salty and firm), or a fresh mango-avocado salsa. * Herbal Brightness: Finely chopped fresh cilantro and mint (the mint adds an unexpected lift).
2. Side Dish Synergy: Enchiladas are rich, so the best sides offer a counterpoint in temperature and texture. Move beyond basic rice and beans: * The Citrus Slaw: A crunchy, cool, and tangy slaw made with shredded cabbage, jicama, lime juice, and a touch of honey offers a refreshing contrast to the warm, cheesy bake. * Creamy Elote Dip: Instead of corn on the cob, serve Mexican street corn flavors as a warm, creamy dip for tortilla chips or as a generous side scoop. * Garnishing with Color: Finish the baked casserole with a final flourish of vibrant color. After the cheese melts, sprinkle on chopped green onions, a drizzle of deep red chili oil, and a scattering of bright yellow corn kernels for visual impact.
Bold Variations for the Next Batch
Once you have mastered the classic chicken enchilada, try these creative twists for a change of pace.
1. The BBQ-Smoked Enchilada: * Change: Substitute the traditional shredded chicken with pulled chicken tossed in a smoky, vinegar-based BBQ sauce. Use a black bean and corn salsa mixture as your filling binder. * Sauce: Swap the chili-based sauce for a milder, cream-based sauce (a light roux with chicken stock and a touch of smoked paprika). * Cheese: Monterey Jack is preferred for its melt and mild flavor.
2. The Pesto-Verde Enchilada: * Change: A fusion twist. Use roasted shredded chicken mixed with a savory cilantro-lime pesto (substituting basil with cilantro). Add sautéed zucchini slices to the filling. * Sauce: Use a bright, tangy Salsa Verde (green enchilada sauce) made from tomatillos. * Cheese: A mix of Pepper Jack and a small amount of salty queso fresco for topping.
3. The Breakfast Enchilada: * Change: Mix the shredded chicken with scrambled eggs, sautéed bell peppers, and diced breakfast potatoes. * Sauce: A creamy, lightly seasoned white cheese sauce (or a queso blanco dip). * Cheese: Sharp cheddar for flavor and melt.
Smart Storage and Reheating
Properly storing and reheating enchiladas is key to enjoying leftovers without a loss of quality.
1. Make-Ahead/Freezing Strategy: Enchiladas are excellent for meal prep, but do not assemble them fully before freezing. The best method is to freeze components separately or unbaked. Roll the filled enchiladas and place them in the baking dish without the sauce or final cheese topping.
Cover tightly and freeze. Freeze the remaining sauce in a separate container. When ready to bake, thaw the rolls overnight, then pour the thawed sauce over them, top with fresh cheese, and bake as directed (adding 10-15 minutes to the baking time to compensate for the cold ingredients).
2. Reheating for Perfection: Avoid the microwave if possible, as it steams the tortillas, making them rubbery. For the best texture, reheat individual portions in a toaster oven or conventional oven at 300∘F (150∘C), covered with foil, until warmed through (about 15-20 minutes). A touch of added cheese and a fresh topping will revitalize the dish.
Conclusion
By employing simple, yet distinctive, techniques—like the quick oil-and-sauce dip for the tortilla, utilizing a savory binder in the filling, and creating an interactive topping bar—you move past the ordinary. Whether you stick to a smoky Rojo sauce or venture into a vibrant Pesto-Verde variation, the heart of this dish remains a perfect canvas for culinary creativity. Mastering its preparation and storage ensures that this "New Favorite" is an absolute delight, from the first satisfying bite to the final perfectly reheated square.
Pin this recipe to share with your friends and followers.