Note
The Ultimate Guide to Perfect Homemade Cheesecake
Cheesecake is the crown jewel of classic desserts: rich, creamy, and satisfyingly dense. While often intimidating to home bakers, achieving a smooth, crack-free surface and a luscious texture is entirely possible by mastering a few key techniques.
This guide offers the definitive steps, expert tips, creative variations, and crucial storage advice for the best homemade cheesecake you'll ever make.
Essential Tips for a Flawless Cheesecake
Creating a perfect cheesecake boils down to temperature control and gentle handling. Follow these tips to prevent the dreaded cracks and lumps:
1. The Temperature is Non-Negotiable
This is the most critical rule in cheesecake baking. All refrigerated ingredients—cream cheese, eggs, and sour cream—must be at room temperature.
2. Cream the Cheese First
Beat only until smooth and creamy. This is where you eliminate lumps.
3. Beat Low and Slow
That air expands rapidly in the oven, causing the center to rise, and then collapse and crack as it cools. Once you add the eggs, mix on the lowest speed possible, stopping the moment they are incorporated—no more than 30 seconds. A perfect batter should be thick and creamy, not airy and frothy.
4. The Water Bath (Bain-Marie)
A water bath is essential for even, slow, and gentle baking. It insulates the cheesecake from the direct oven heat and introduces steam, keeping the top and bottom of the cake baking at nearly the same rate. This slow, steady temperature prevents the sudden temperature shifts that cause cracking.
- Setup: Use a springform pan.
5. Don't Overbake—Look for the Jiggle
The key to a creamy texture is pulling the cheesecake out before it's truly "done." The edges should look set (lightly golden, depending on your recipe), but the center 1 to 2 inches should still have a noticeable wobble when you gently nudge the pan.
6. The Gradual Cool-Down
Once the cheesecake is baked, you must cool it in stages:
- Stage 1 (Oven): Turn the oven off, prop the door open slightly, and let the cheesecake sit inside the cooling oven for one hour.
- Stage 2 (Counter): Remove the cake (leaving the water bath behind) and let it cool completely to room temperature, about 2-3 hours.
Serving Tricks for a Polished Finish
Even a perfect cheesecake can be ruined at the last minute! Use these simple tricks for professional-looking slices:
- Hot Knife Slices: Dip a long, thin knife into a tall container of very hot water before each cut. Wipe the blade completely dry between slices. The heat melts a tiny sliver of the cheesecake, allowing the knife to pass through cleanly.
- Removing the Pan Ring: Once the cheesecake is fully chilled, run a thin metal spatula or knife around the inner edge of the pan before unclamping the springform ring. This prevents the edges from tearing.
- Perfect Garnish: Apply any fruit toppings, whipped cream, or drizzles just before serving to prevent the moisture from softening the cheesecake's surface.
Delicious Variations
Once you master the base recipe, the possibilities are endless:
- Crust Variations: Swap graham crackers for crushed Oreo cookies, ginger snaps, or vanilla wafers.
- Flavor Infusion: Add 1/4 cup of lemon juice and 1 tablespoon of lemon zest for a bright, tangy Lemon Cheesecake.
- Top it Off: Swirl in caramel, raspberry jam, or peanut butter into the last few scoops of batter before baking.
Storage and Make-Ahead Planning
Cheesecake is an excellent make-ahead dessert:
- Refrigerator: Properly chilled and covered, cheesecake will last for 3 to 4 days in the refrigerator. Use aluminum foil or plastic wrap to cover it after the initial 8-hour chill period.
- Freezer (Best Method): Cheesecake freezes beautifully. Freeze for up to 1 to 2 months.
Conclusion
The secret to baking the best homemade cheesecake is not about using fancy ingredients, but about patience and temperature control.
By using room-temperature ingredients, mixing gently, and implementing the water bath and gradual cooling steps, you will consistently achieve that legendary, creamy texture and a perfectly smooth top every time.
Master these methods, and you'll find this seemingly complex dessert is surprisingly straightforward to execute.


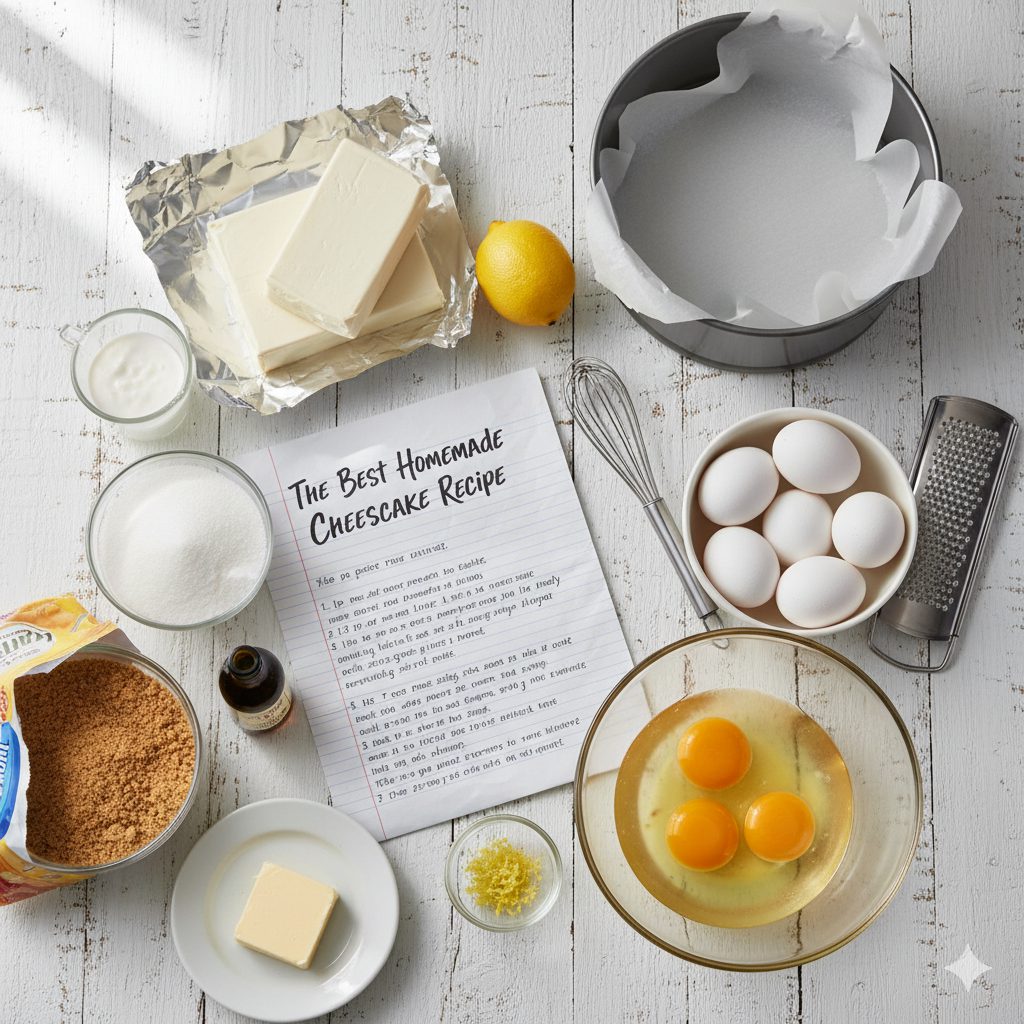 Begin the process by setting the heat. Set the oven temperature to 350∘F (175∘C). Prepare a 9-inch springform pan by affixing baking parchment to its base, then lightly oil the interior walls. In a bowl, incorporate 1/2 measures of finely crushed graham crackers, a quarter-cup of white sugar (1/4 cup), and six spoonfuls of melted, unsalted butter (6 tbsp). Blend until the crumbs are thoroughly damp. Press this mixture firmly into the pan's bottom and partway up the sides. Bake for 8 to 10 minutes, then set aside to cool.
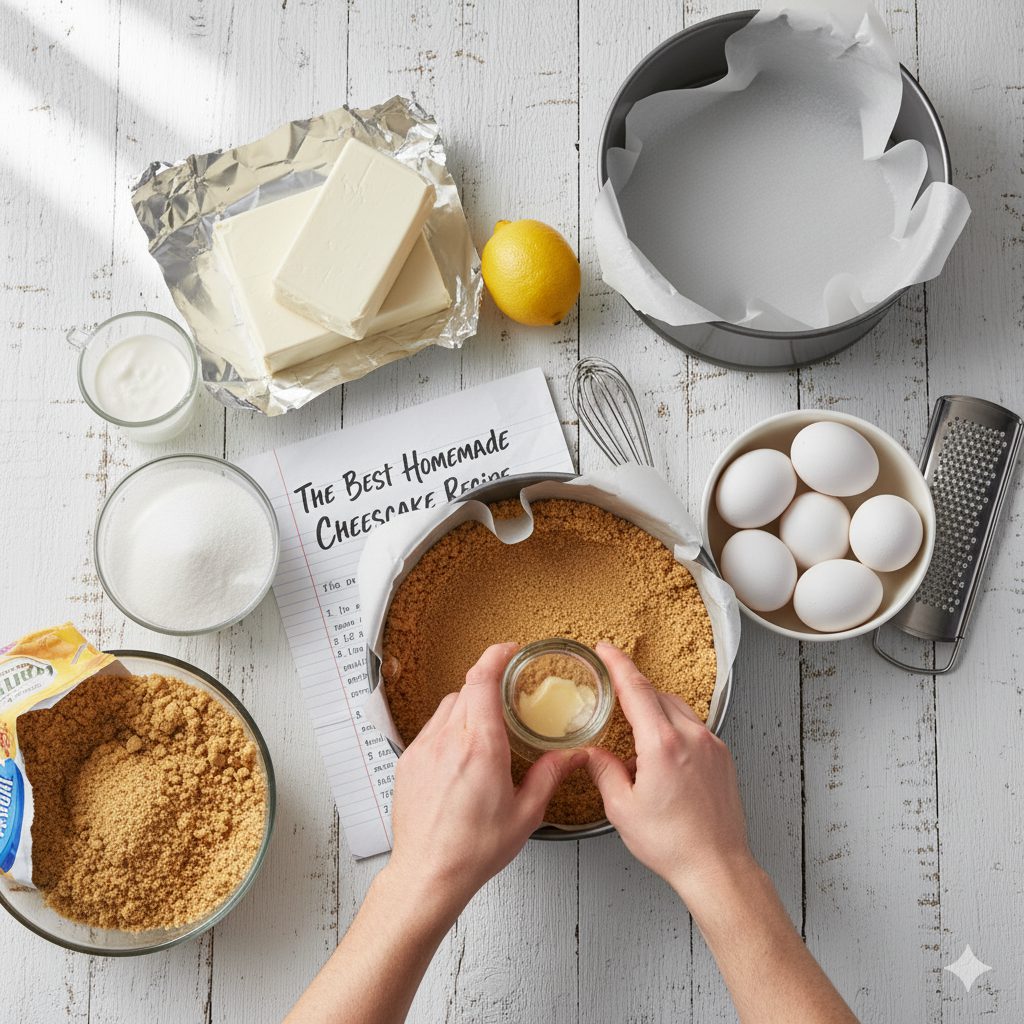 This section addresses the crucial egg step. Mix only until the eggs have just disappeared into the batter. Do not continue mixing the batter after the eggs are incorporated, as adding excess air will cause surface fissures during cooking.
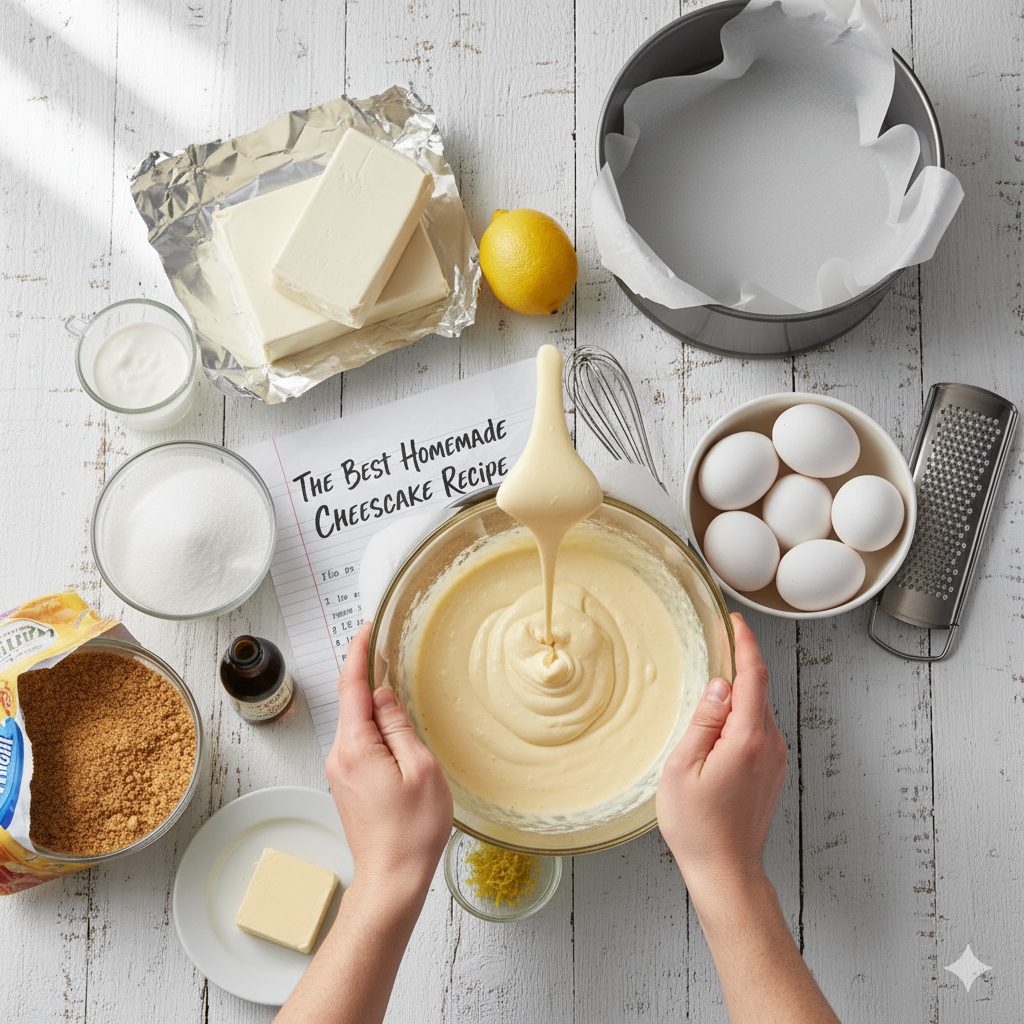 Prepare a water bath setup. Seal the lower section and lateral surfaces of the springform pan with two generous sheets of heavy-duty aluminum foil to prevent water from penetrating the dessert. Transfer the cheesecake mixture into the cool, prepared crust. Position the foil-clad pan inside a large, deep roasting tin. Next, cautiously pour hot, boiling water into the roasting pan, ensuring the water rises approximately halfway up the exterior of the smaller cheesecake pan.
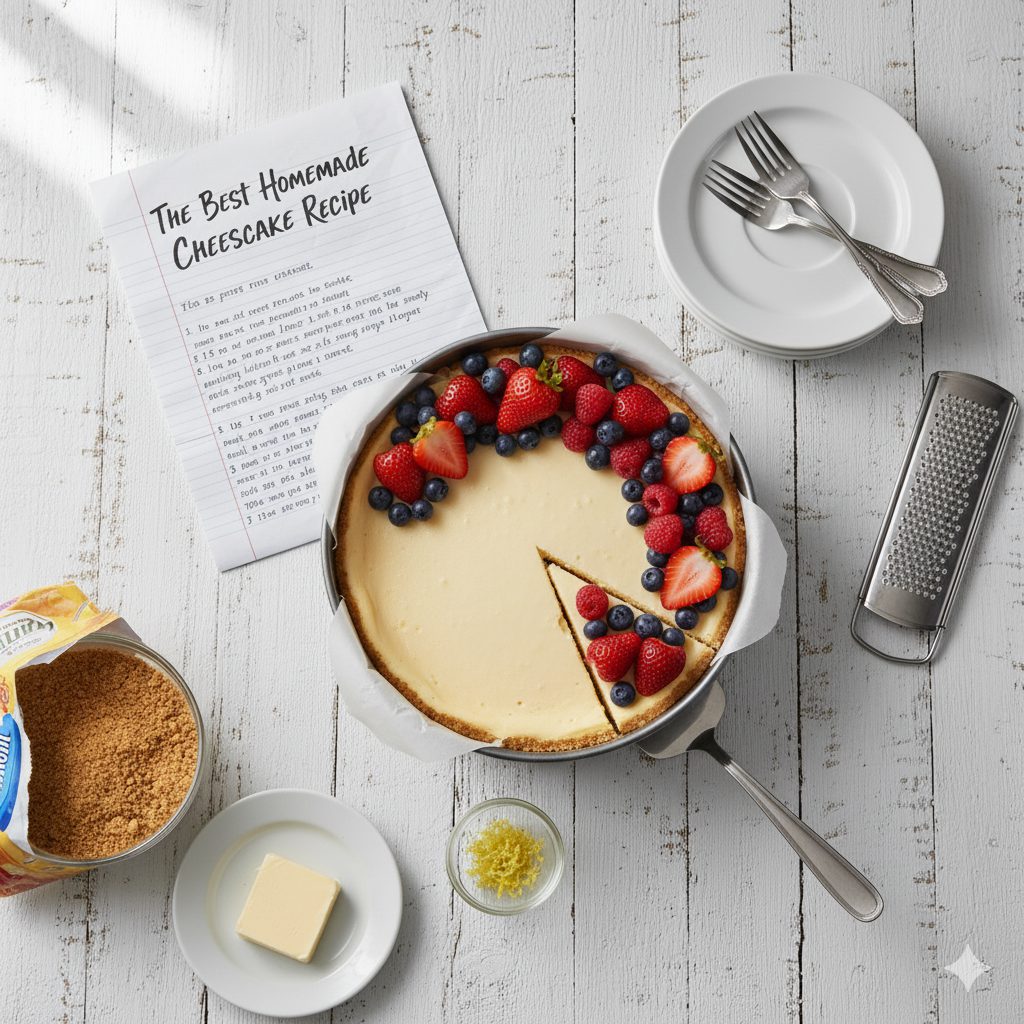 Carefully insert the roasting pan (with the water bath) into the prepared oven. Bake for approximately 70 to 85 minutes. The cheesecake is finished when the perimeter is set, but the inner 2-inch circle still trembles slightly. Deactivate the oven, wedge the door open slightly, and allow the cheesecake to decrease in temperature slowly within the oven for one full hour. After this stabilization period, lift the cheesecake from the water bath, let it reach room temperature on a cooling grid, and then place it in the refrigerator for a minimum of six hours (ideally overnight) before portioning.

