Note
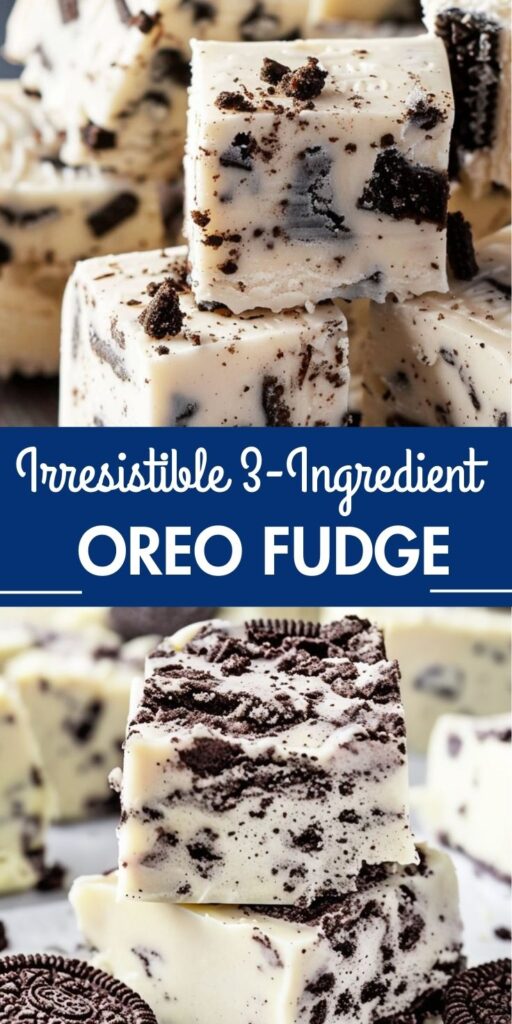
Irresistible 3-Ingredient Oreo Fudge: Tips, Tricks, and Serving Ideas
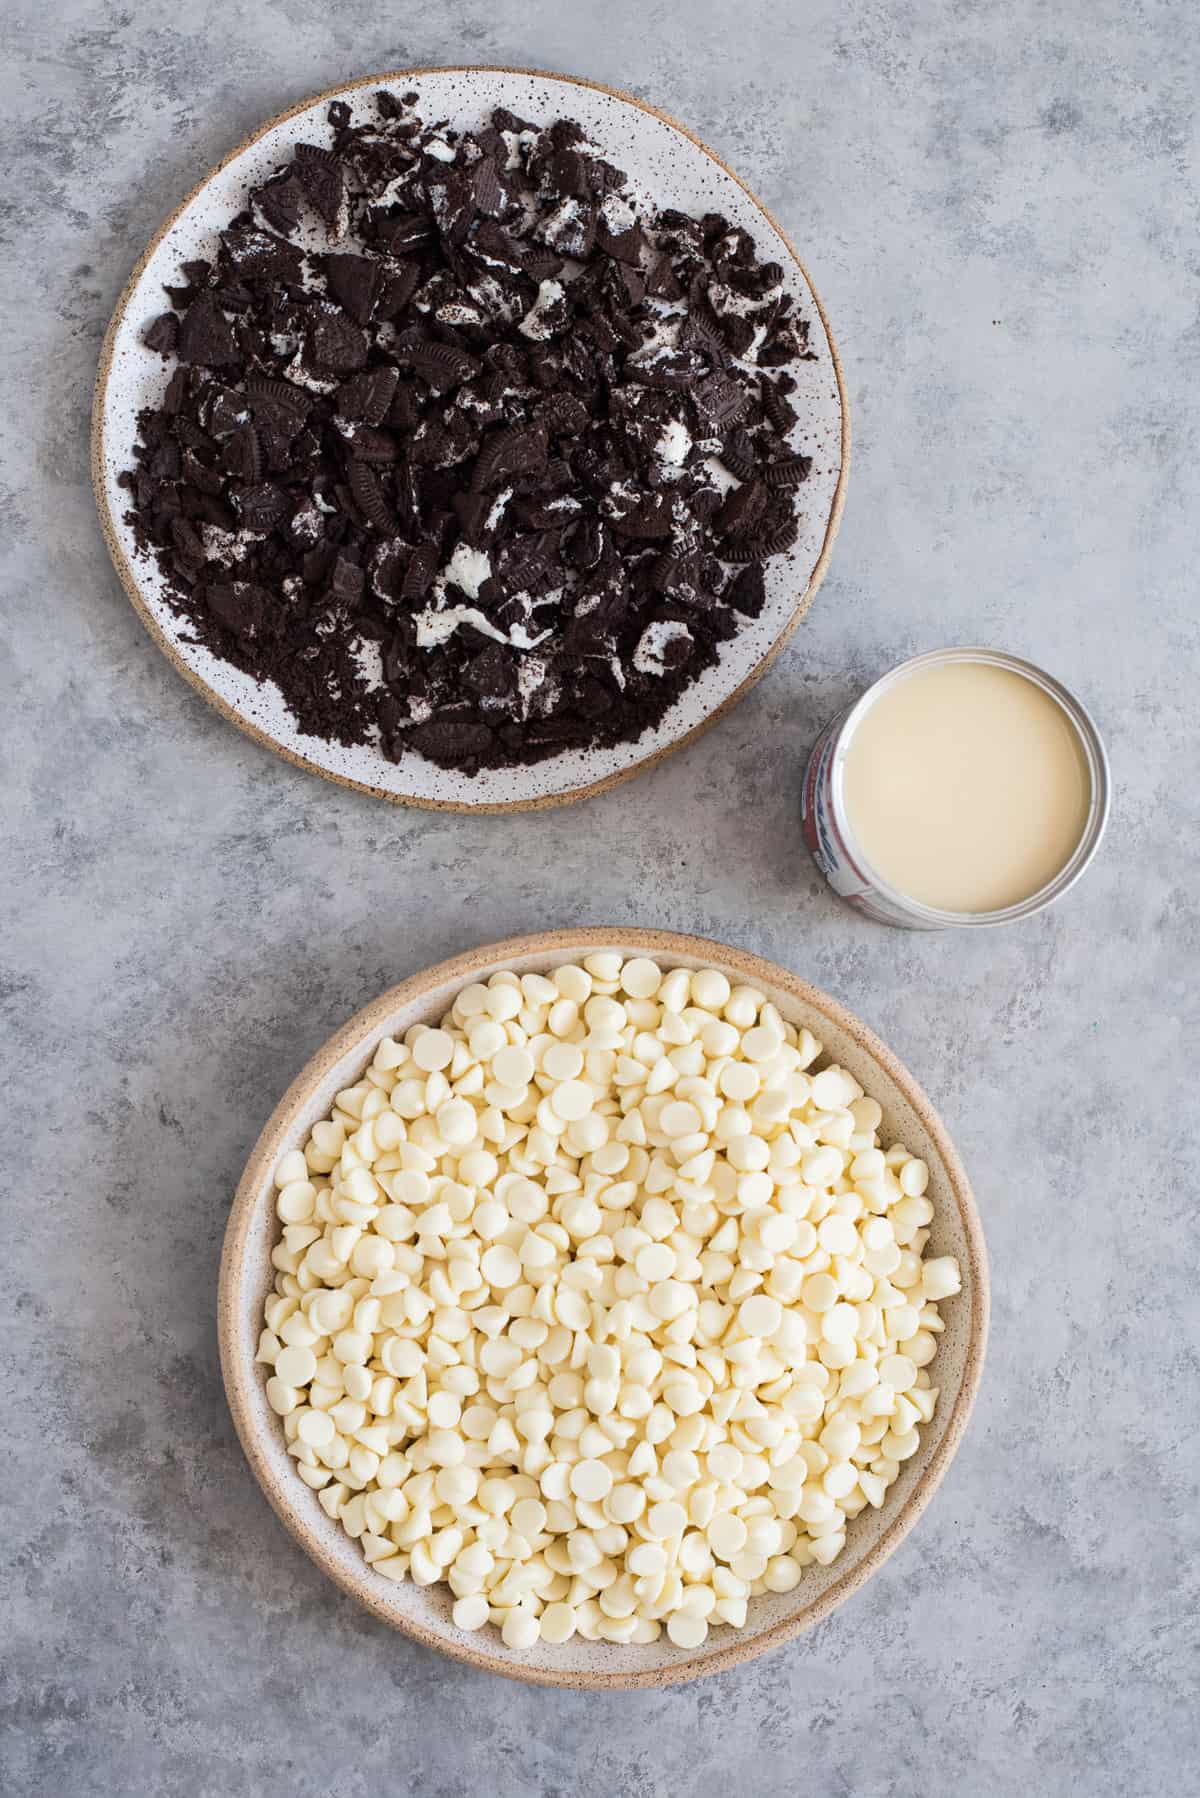
If you’re looking for a simple, no-fuss dessert that feels decadent but takes almost no time, this 3-ingredient Oreo fudge is a game-changer. With just Oreo cookies, sweetened condensed milk, and chocolate chips, you can create a rich, creamy treat that will wow your family, friends, or guests. Here’s everything you need to know to make it perfectly every time, plus ideas for serving and storing.
1. Ingredients Matter
While the recipe is simple, quality makes a difference. Use fresh Oreo cookies for that classic crunch and flavor. For chocolate, semi-sweet or milk chocolate chips work best—semi-sweet gives a slightly richer, less sweet finish. Sweetened condensed milk is the binding agent, giving the fudge its creamy texture. Make sure it’s well-mixed with the chocolate for smooth, luscious results.
2. Prep Tips for Success
- Crush the Oreos evenly: You can pulse them in a food processor or place them in a zip-top bag and crush with a rolling pin. Some like a mix of small crumbs and slightly larger pieces for a nice texture.
- Line your pan: Use parchment paper in an 8×8-inch pan (or similar) to prevent sticking and make removal effortless.
- Microwave carefully: When melting chocolate with condensed milk, use 20–30 second intervals, stirring in between. Chocolate can burn quickly if overheated. Stirring ensures a smooth, glossy mixture.
3. Mixing Techniques
After melting the chocolate and condensed milk together, fold in the crushed Oreos gently. Overmixing can cause the cookies to break down too much, resulting in a fudgy chocolate block rather than a delightful Oreo texture. Aim for an even distribution of cookie pieces for that satisfying bite in every square.
4. Setting and Storage
Pour the mixture into your lined pan and smooth the top. For a neat finish, tap the pan gently on the counter to remove air bubbles. Let it set in the refrigerator for at least 2 hours before cutting. This ensures clean slices and that the fudge holds its shape.
For storage, keep it in an airtight container in the fridge. It will last up to 1 week, or freeze for up to 2 months. Cut the fudge into small bite-sized squares for easy snacking or gifting.
5. Serving Tips
- Mini treats: Cut the fudge into tiny squares for party platters, making it easy for guests to grab a bite.
- Layered desserts: Use Oreo fudge as a base for parfaits, layering with whipped cream or pudding.
- Decorate creatively: Sprinkle mini Oreos, chocolate shavings, or crushed nuts on top before setting for added flair.
6. Flavor Variations
While the classic version is irresistible on its own, you can experiment with a few twists:
- Add a dash of vanilla extract to enhance the chocolate flavor.
- Mix in white chocolate chips for a contrast in sweetness.
- Fold in a handful of mini marshmallows for a rocky-road style fudge.
7. Tricks for Perfect Texture
- Avoid overcooking: Chocolate should be just melted and smooth; otherwise, it can become grainy.
- Don’t skip refrigeration: Room temperature fudge may be too soft to cut neatly.
- Cut with a sharp, warm knife to avoid crumbling. Run it under hot water, wipe dry, and slice.
8. Fun Serving Ideas
- Gift-giving: Wrap squares in parchment and tie with ribbon—perfect for birthdays or holidays.
- Dessert table: Arrange Oreo fudge with other small treats like brownies or cookies for a visually appealing platter.
- Ice cream topping: Crumble the fudge over vanilla or chocolate ice cream for an instant indulgent sundae.
Tips for Perfection
- For a richer flavor, you can toast the Oreo cookies lightly in the oven before chopping and folding them into the fudge. This brings out the chocolatey notes and adds an extra layer of aroma.
- White chocolate can be sensitive to heat, so always melt slowly over low heat or use a double boiler to prevent burning.
- Customize your fudge by adding a pinch of sea salt to balance the sweetness, or drizzle with melted dark chocolate for a beautiful contrast.
- Store the fudge in an airtight container in the refrigerator for up to 2 weeks. It also freezes well, making it a perfect make-ahead dessert.
Why This Recipe Works
The genius of this 3-ingredient Oreo fudge is in its balance. The sweet, creamy white chocolate provides a luscious texture, while the Oreos add bite and a slight bitterness that prevents the fudge from being overwhelmingly sweet. The sweetened condensed milk binds everything together and gives the fudge a silky consistency that melts in your mouth. Despite having only three ingredients, this fudge tastes luxurious and indulgent, rivaling more complex recipes that require dozens of components.
Serving Suggestions
Serve this fudge at parties, family gatherings, or just as a special treat for yourself. It pairs wonderfully with a hot cup of coffee, tea, or milk. For a festive touch, consider cutting the fudge into mini squares and packaging them in decorative boxes or cellophane bags—perfect for gifting during holidays or birthdays.
Conclusion
If you’re craving a simple yet indulgent dessert, the 3-Ingredient Oreo Fudge is a must-try. It’s quick, easy, and guaranteed to impress. With its creamy white chocolate base and crunchy, chocolatey Oreos, every bite is a heavenly combination of textures and flavors. This recipe proves that sometimes, the simplest ingredients can create the most irresistible treats. Whip it up, chill, slice, and watch it disappear faster than you can say “Oreo fudge!”

 Start by lining an 8x8-inch square baking pan with parchment paper or aluminum foil. Make sure to leave a bit of overhang on the sides so it’s easy to lift the fudge out once it’s set. Lightly grease the lining with a tiny bit of butter or nonstick spray to prevent sticking.
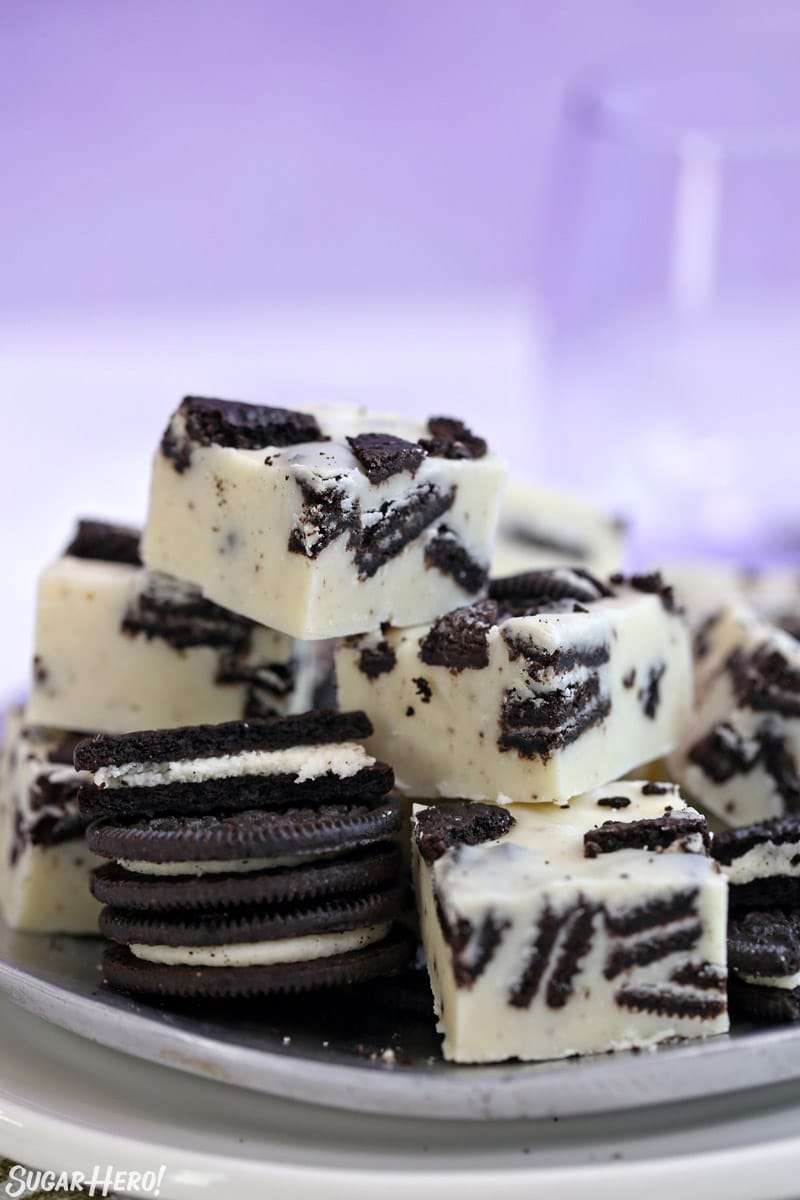 Once fully set, lift the fudge out using the overhanging parchment paper or foil. Slice it into small squares using a sharp knife. For neat edges, you can wipe the knife with a warm, damp cloth between cuts.

